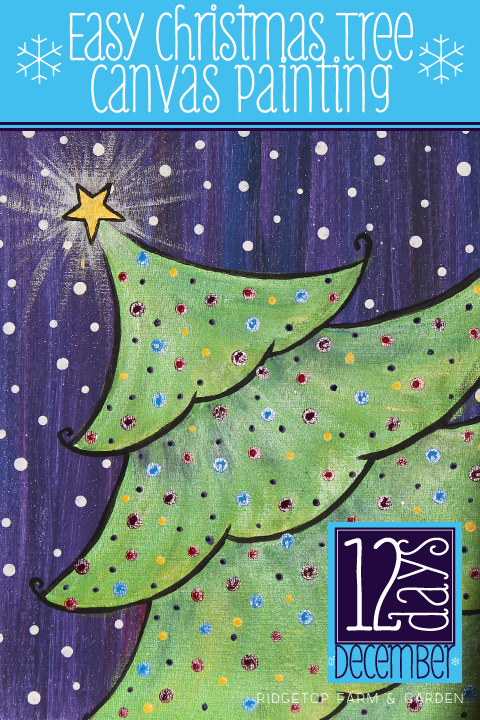
 Our 7th Day of December is featuring a do it yourself canvas painting.
It is not the fanciest painting you ever did see, but it’s festive, fun and fairly simple to create.
Have you seen those places where you get to drink wine with your girlfriends while creating a fabulous painting? I’ve always wanted to go. Unfortunately, I have not.
I have especially wanted to take my 10 year old son to such a place, minus the wine, of course. I don’t, however, want to spend $50+ for the 2 of us to create the same painting. So, I came up with a painting we can all do. It’s simple enough for the kids. It’s also fun enough to be part of a girls wine drinking paint party.
My goal was to create a painting that was cute and something I’d actually want to display in my home, as well as be cost effective. I also wanted it to be doable for all artist levels.
12 Days of December
December 7th: Easy Christmas Tree Canvas Painting Tutorial
Items You Will Need
• Canvas – I used 11″ x 14″ canvas panels. The canvas panels are slightly cheaper than the wood framed canvas. During a holiday sale, I was able to get a 3 pack at Joann’s for $4.80.
• Paint – I’ve used both tempera and acrylic paints for this project. Both work fine. I prefer acrylic, though. In the following instructional steps I list the colors I used for reference purposes only. Feel free to use whatever colors you have on hand. And, don’t be afraid to mix your own colors if you don’t have quite the variety you would like.
• Paintbrushes – As much as I like painting with the “nice” brushes, I paint a lot with the kids, so I most often use the cost effective 5 pack of Crayola paint brushes. They are usually priced around $5 and will often be on sale for less. That set of brushes works perfectly for this project. I did, however, use a wider brush for the background.
• Palette – You just need something to hold your paint. It can be an actual palette, cardboard, or a paper plate. My favorite is the cardboard from a frozen pizza. It’s silly, but I like it because of the round shape.
• Table Cover or Easel – If you have an easel, that’s fantastic. Use it. Around here, though, we don’t have enough easels for the number of painters. So, I put white butcher paper on our kitchen table and we paint away. Newspaper would work fine, too.
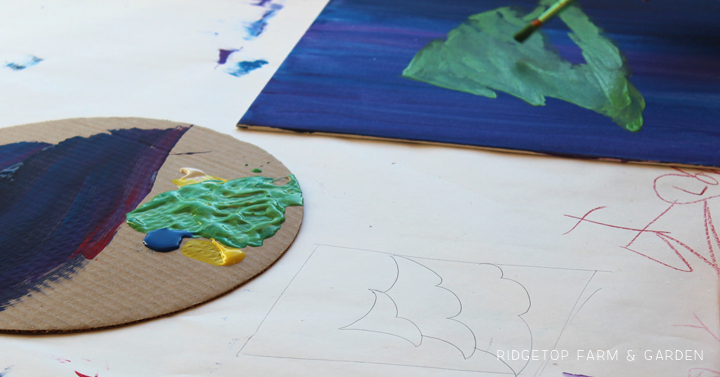
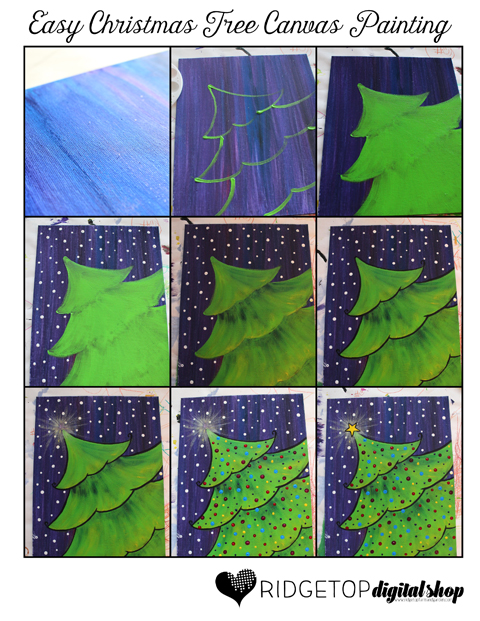
Step 1: Paint the Background
• For the kids I used tempera paints in black, purple, blue, and red. The adults used acrylic paint.
• I also mixed in glitter. This is not a necessary step. I just like glitter.
• The kids used a foam brush to paint the background. Adults used a 1″ paint brush. Again, either one works fine. Use whatever you have.
• The trick to this background is not mixing the colors before applying the paint to the canvas. I squeeze blobs of paint onto the palette. Then brush them onto the canvas, blending them here and there. But, allowing the individual color to show through as well.
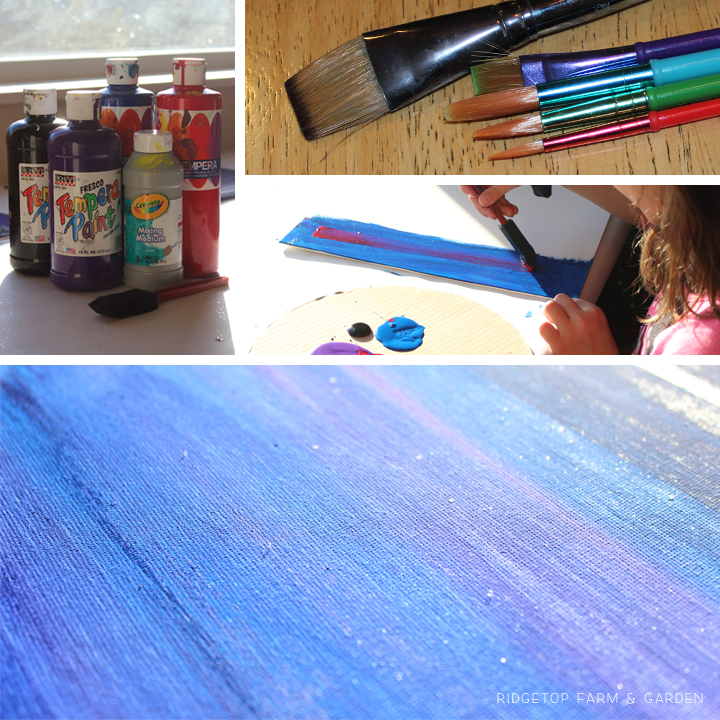
Step 2: Outline the Tree
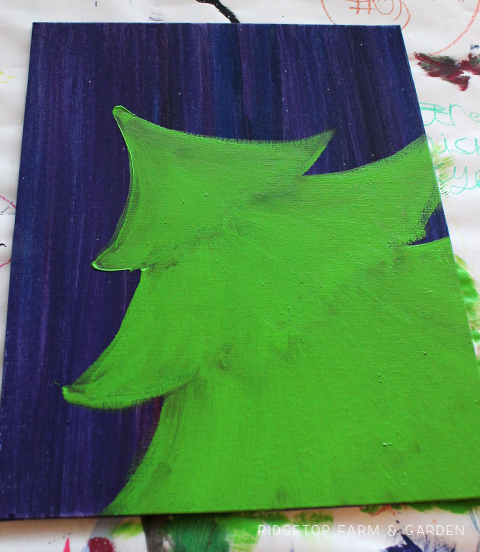
• Using a light green acrylic paint, I painted an outline of the tree. You could draw it in pencil first, if you would like. But, I didn’t.
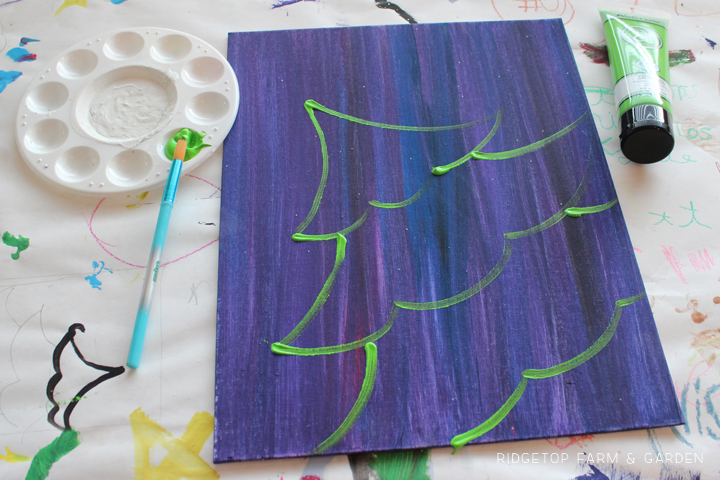
Step 3: Fill in the Tree
• Using the same light green paint, fill in the entire tree area.
• I used mostly downward strokes, resembling tree branches. No moving my brush horizontally.
Step 4: Adding Snow to the Background
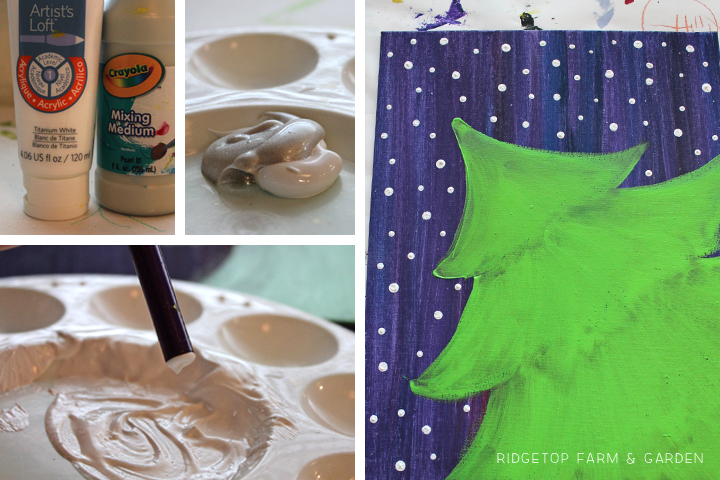
• I mixed together white acrylic paint and pearl it medium from Crayola for the snow. The mixing medium isn’t necessary. I just have it, so I used it.
• Painting circles is super simple. Flip your brush over. The end of your paintbrush is now the brush you are using. Dip the end in white paint and dab onto the canvas for snow. Using different brushes will give you a variety of circle sizes.
Step 5: Adding Detail to the Tree
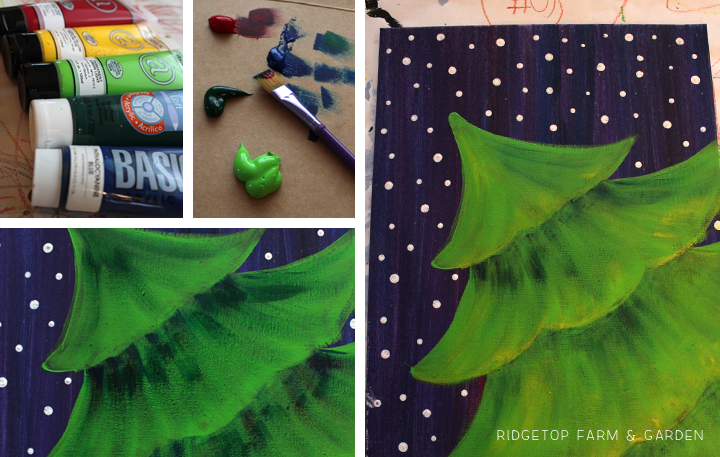
• Using a variety of paints (Cadmium Red, Cadmium Yellow, Light Green, Deep Green, & Phthalo Blue) I created depth to the tree. I used mostly a dry brush technique, but also blended colors right on the canvas.
• Again, I used vertical or sweeping strokes. No horizontal painting.
• The deep green, phthalo blue, and cadmium red were used where I wanted shadows. The cadmium yellow was painted where I wanted a highlight.
Step 6: Outline the Tree
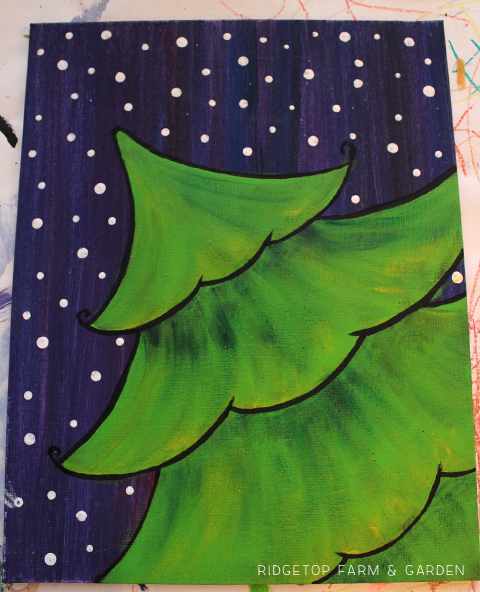
• Using black acrylic paint, I outlined the tree.
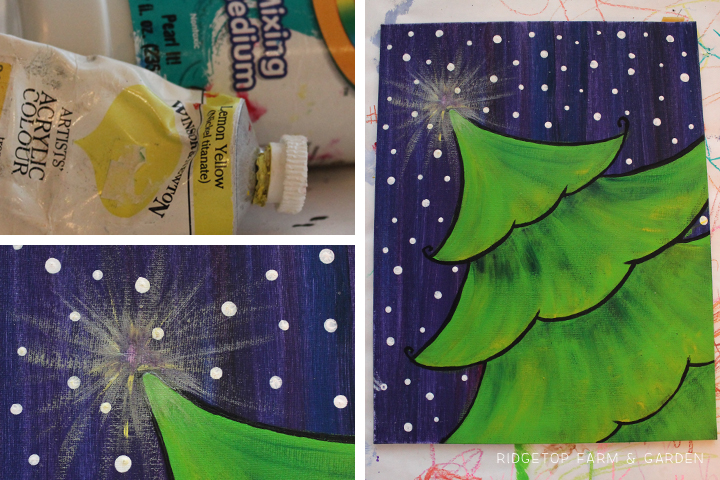
Step 7: Painting the Star Glow
• I used lemon yellow acrylic paint and pearl it medium for the glow effect. White paint mixed with a dab of yellow would work as well.
• I used a dry brush technique. Each stroke began in the center and then pulled out.
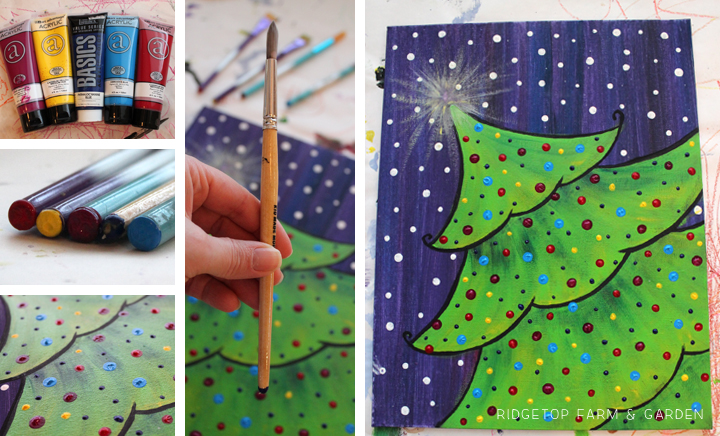
Step 8: Adding Lights to the Tree
• Using the same technique as the snow, paint the lights using the end of the paintbrush.
• My paint colors were: Deep Magenta, Cadmium Yellow, Phthalo Blue, Cerulean Blue, and Cadmium Red
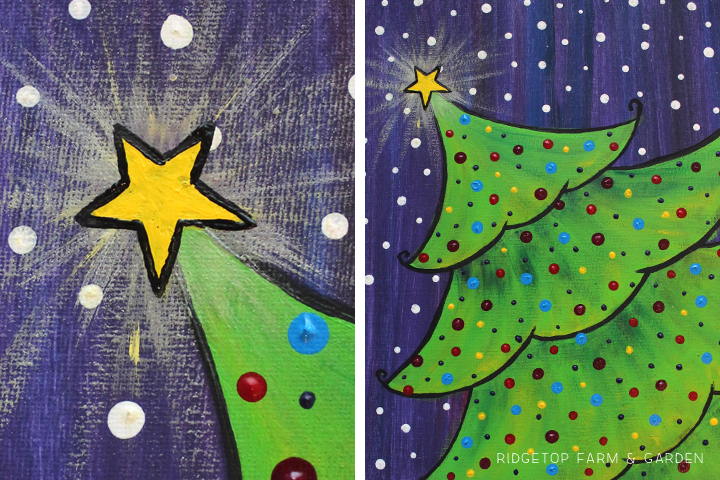
Step 9: Painting the Star
• Using Cadmium Yellow paint a star at the top of the tree.
• Allow the yellow paint to dry a smidge, then outline the star in black paint.
Step 10: Enjoy your Festive Painting
For a quickie version of the steps, print the jpg below.
Please enjoy this tutorial! However, do not sell or share the images as your own. Please link back to this original post.
All 12 Days of December:
December 1st: Hot Drinks Bar Party Kit • Printable
December 2nd: Warm Up Here Burlap & Canvas • DIY
December 3rd: Photo Booth Backdrop • DIY
December 4th: Snowman Photo Booth Props • Printable
December 5th: Let it Snow Gift Card Holders • Printable
December 6th: Christmas Gift Box • Printable
December 7th: Christmas Tree Canvas Painting • Tutorial {you’re already here}
December 8th: Hot Drink Pouch • Printable
December 9th: Build Your Own Snowman Gift Tags • Printable
December 10th: Let it Snow Gift Tags • Printable
December 11th: Christmas Word Search • Printable
December 12th: Let it Snow • Printable
I would love to see how you used these 12 Days projects. Please share your creation(s) with us here.

