Read more "Closet Door Turned Hall Table"
The post Closet Door Turned Hall Table appeared first on .
]]>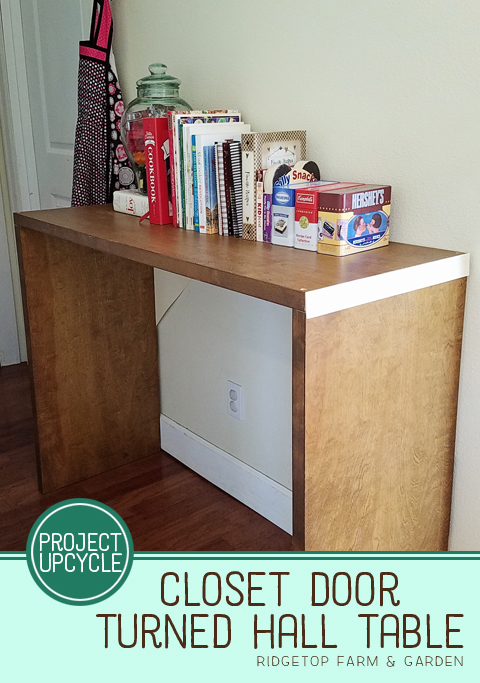
This may not be the most exciting table ever, but I love it for a few reasons. One is that it has a crisp, clean feel. Two, is that it is functional. And three, it cost me nothing.
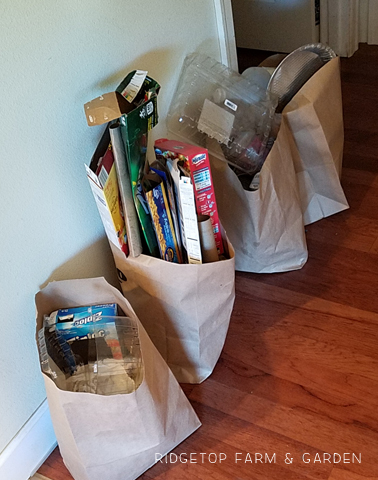
In a hallway near our kitchen is where our recycling goes. It is the most obnoxious, untidy area. This isn’t even a good obnoxious photo. Usually there is so much recycling that it’s overfilling the bags and spilling all over the floor.
The space was in desperate need of tidying. I asked Farmer John if there was enough scrap wood laying around to build a small table. He found 2 closet doors and got to creating.
One door was used to make the table top. The other door was cut to make 2 36″ tall legs.
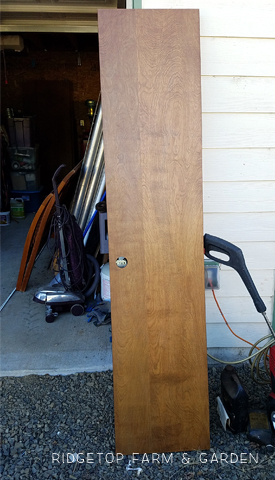
The doors are 18″ wide, which is a couple inches wider than I would prefer for the hall. But, it works just fine.
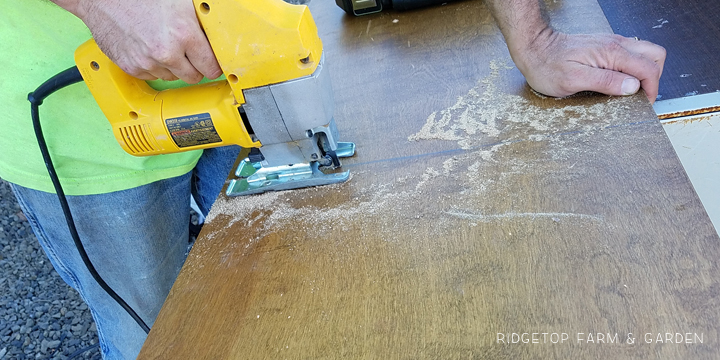
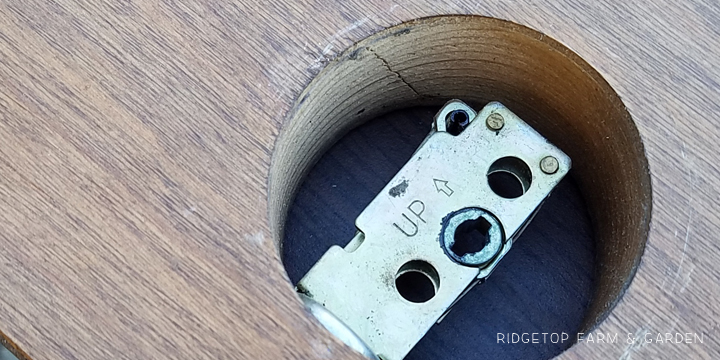
The doors obviously have a hole for a door handle. We cut that section off the leg pieces. But, chose to leave it for the table top so we can put cords through it if we ever needed to like for a slow cooker or Christmas decor.
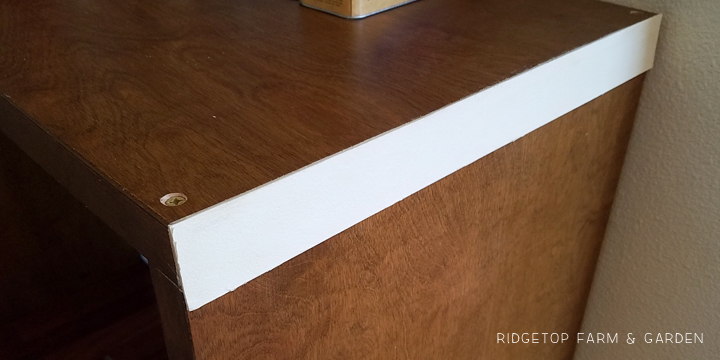
Using a drill and countersink, Farmer John screwed the top piece to the legs.

The door had space for hinges, of course. But, we just placed that ugly side towards the wall.
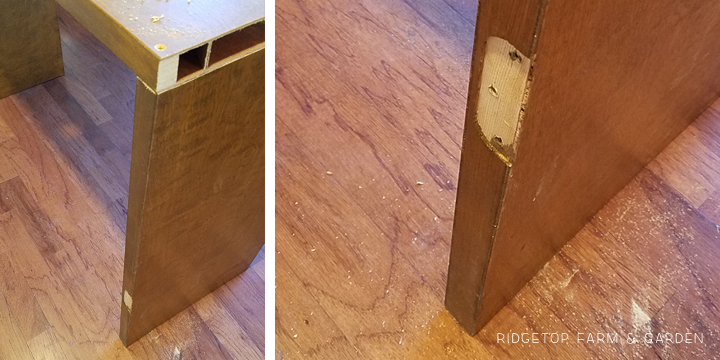
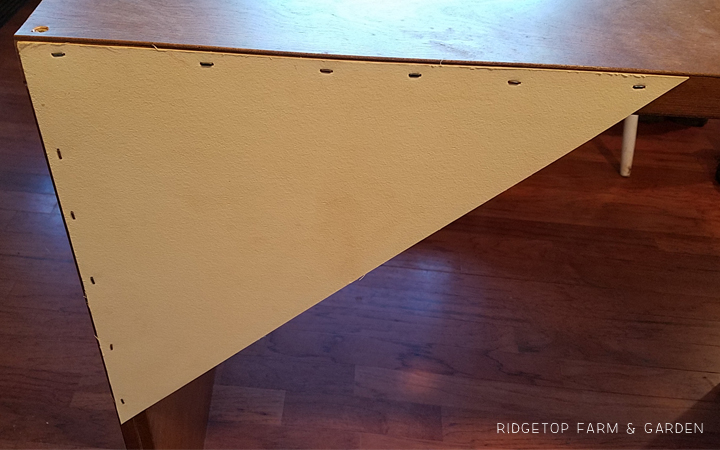
Since the doors are hollow, the ends are open. We have old matting in our garage that Farmer John cut to cover the openings. It’s not fancy, but it worked.
He also used the matting to cut gussets to stabilize the table.
The triangle gussets were stapled to the back of the table.
The finished thrifty, yet functional, table!
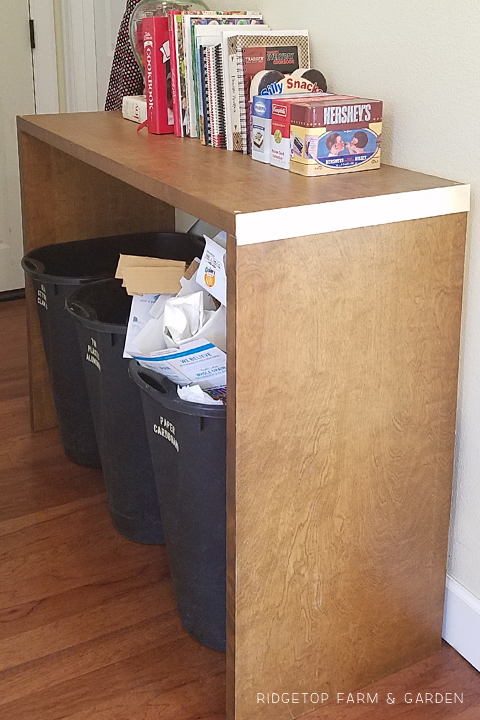
To try to keep the recycling mess organized I labeled each container. Hopefully the family follows the labels and it actually stays organized.

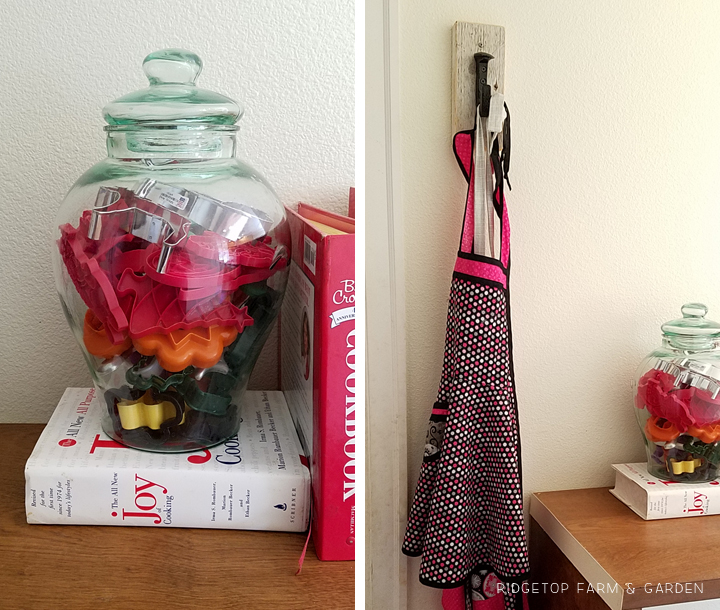
As an added bonus the table is perfect for my cookbooks and old cookie cutters. I was also able to hang mine and Farm Girl’s aprons near the table. Win, win!
The post Closet Door Turned Hall Table appeared first on .
]]>Read more "DIY Wanderlust Map"
The post DIY Wanderlust Map appeared first on .
]]>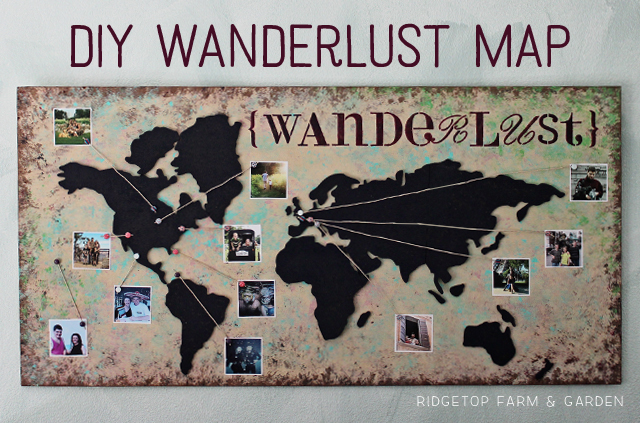
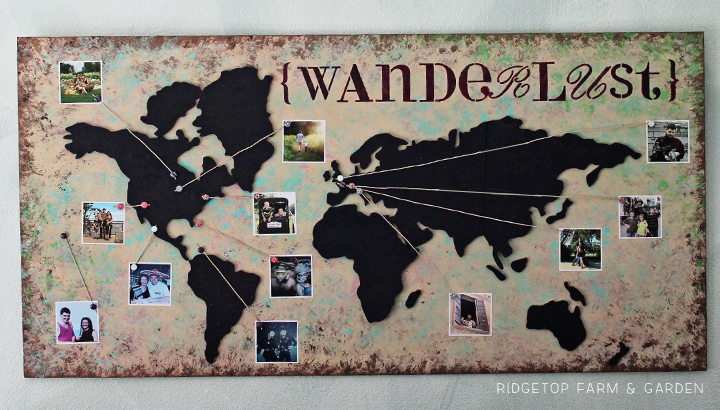
I love to travel, whether it’s road trippin’ the US or traveling abroad. For years I’ve been wanting a way to commemorate our travels in one place. This Wanderlust Map is what I came up with.
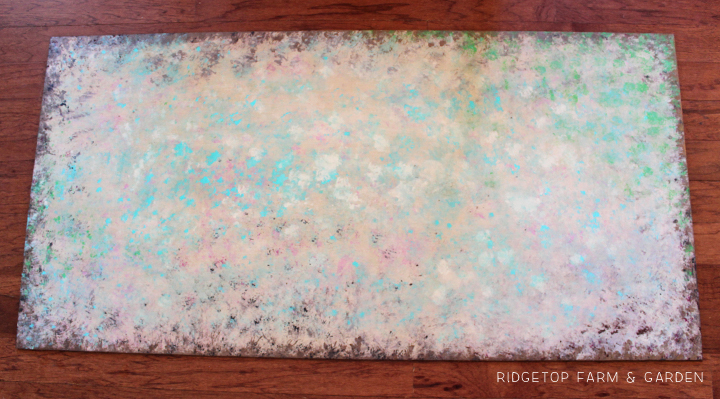
THE BOARD
I bought a board at Home Depot and painted it a variety of colors. The paint effect is random with a slight textured appearance. I was going for an overall tan color with highlights of other colors. A basic blue background, representing the oceans, would have been nice too.
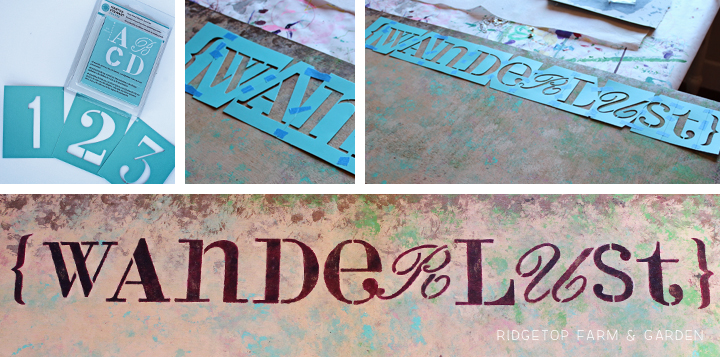
WANDERLUST TEXT
I used a Martha Stewart stencil set for the text. It worked out perfectly that no letters were used more than once. So I taped the stencils together and dabbed paint over the entire text. Then waited for the paint to dry and went over the letters again. This worked very well. However, I don’t love the R and the U letters that came with the stencil set. I wish I would have used an upside down n as the u, then use the n again, blocking off the section that wouldn’t work, as an r. Oh well.
THE MAP
I found a cork world map at Michaels and loved it.
I mixed purple, pthalo blue and black paint to create a dark navy color and painted the cork.
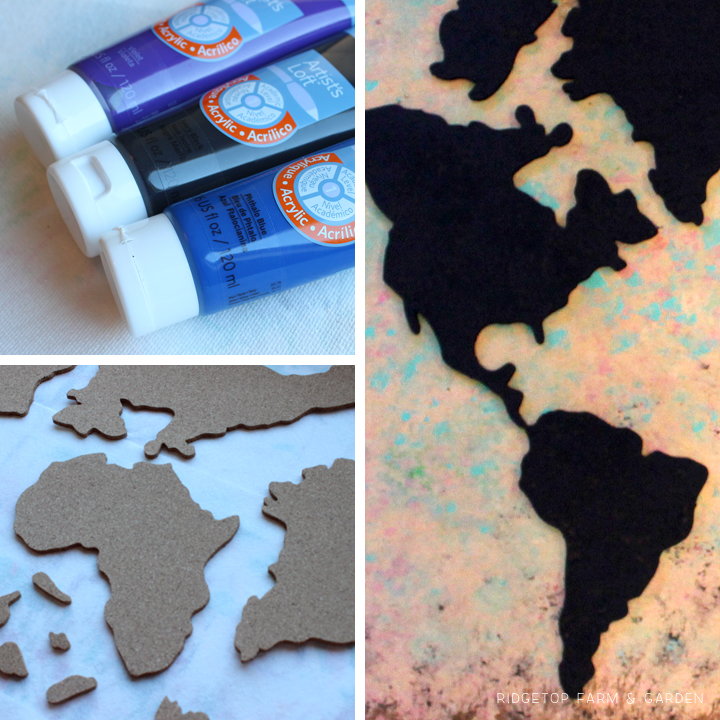
When the paint dried, I assembled the map onto the board. The map has adhesive on the back, but I found not all of it stuck well to my board. So, I used gorilla glue to help it stay attached.
ADDING PHOTOS
The photos are 3″ x 3″ with a skinny white border.
One tack is placed at the vacation location & one tack is on the vacation photo. They are connected with twine.
I wasn’t sure how crazy I wanted the final product to look, so I didn’t add every single place we’ve been. But, eventually I will add more photos.
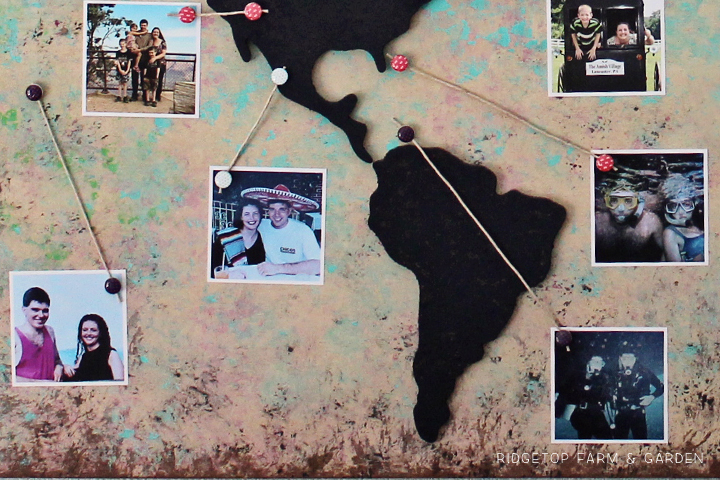
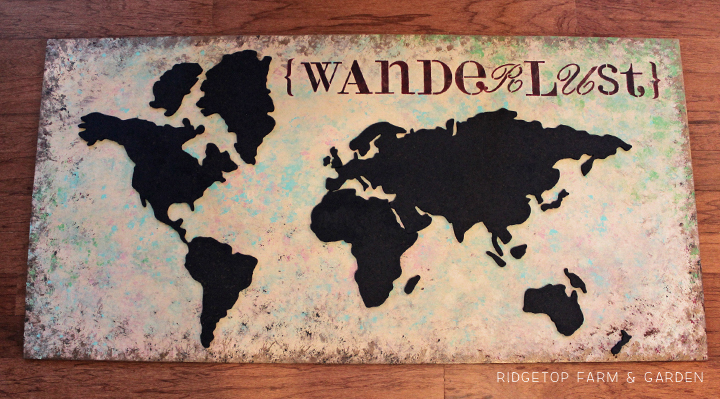
FINISHED PIECE
I love it – especially because it highlights various points throughout our relationship. Hawaii, where he first kissed me. Our honeymoon in Mexico. Tropical destinations as scuba divers. Road trip as a family of 4. Then again as a family of 5. Etc, etc. etc.
How do you commemorate your travels?
The post DIY Wanderlust Map appeared first on .
]]>Read more "DIY Notre Dame Chimera Trio"
The post DIY Notre Dame Chimera Trio appeared first on .
]]>
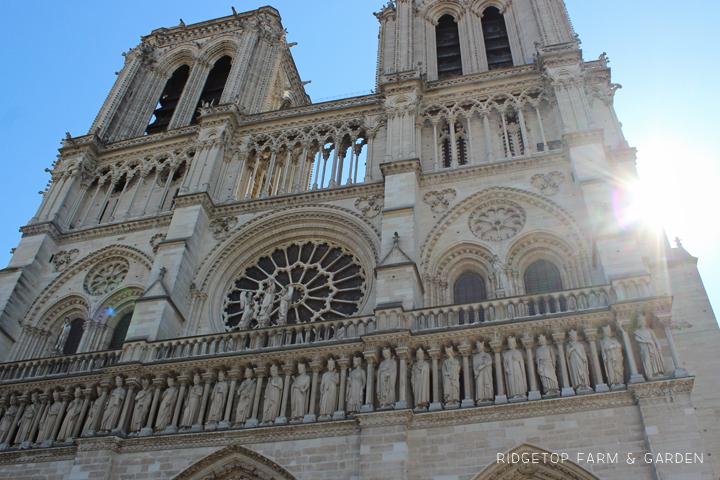
NOTRE DAME
I love Notre Dame. It is breathtaking inside and out.
In 2002, Farmer John & I quickly admired the main level. It was amazing and when we brought the kids to Paris in 2015 it was a place I definitely wanted them to see. Plus, let’s be honest, I wanted to see it again.
This time we climbed the stairs to the top of the towers. We arrived early, but there was still a long wait. It was worth the wait.
I enjoyed the entire experience – the enormous Emmanuel bell, the view, even the narrow spiral staircases. My favorite thing, though, was getting to see the chimera up close.
GARGOYLE VS. CHIMERA
Only recently did I learn the difference between a gargoyle and a chimera. The first 30 years of my life I used the word gargoyle to describe both. Very naive, I know.
GARGOYLE
Gargoyles are functional. They were built on the end of gutters to prevent rain water from dripping on the walls and eventually ruining the building.
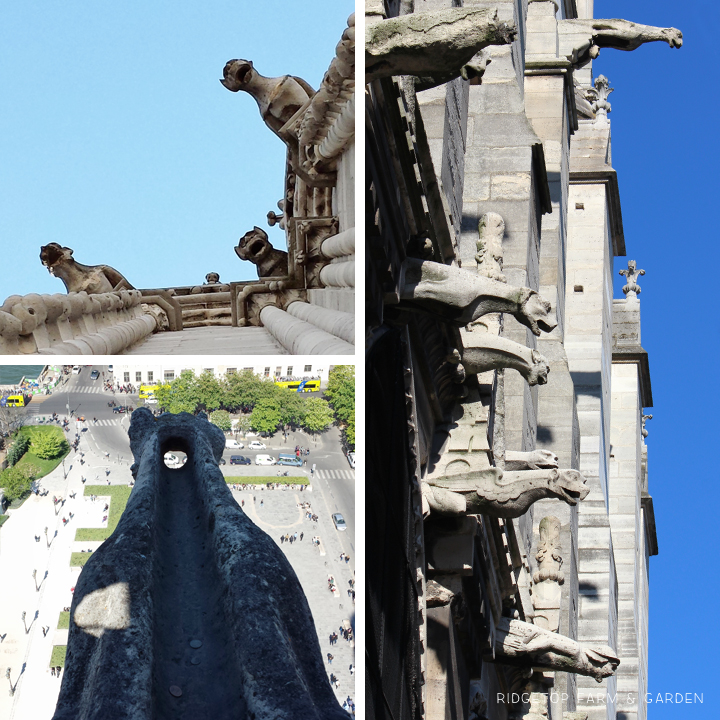
CHIMERA
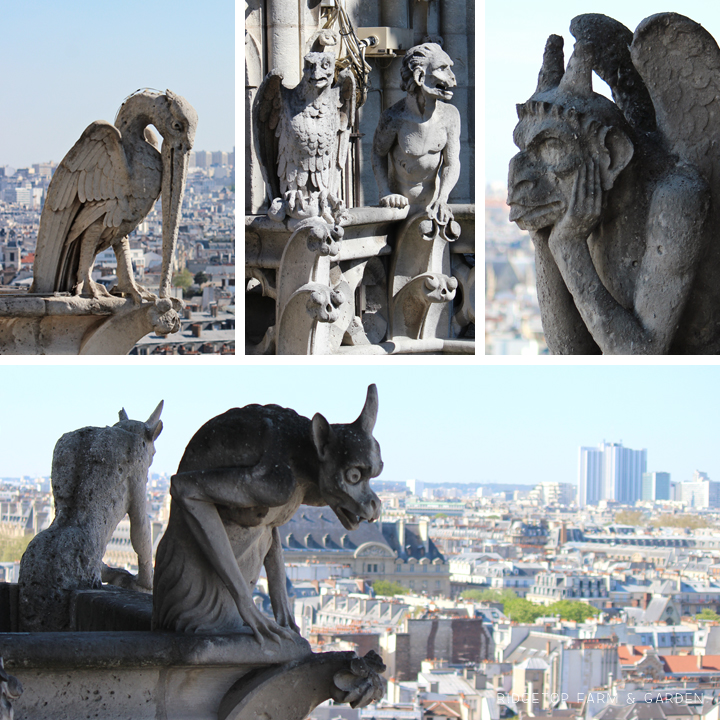
Chimera are decoration. Weird, yet awesome, decoration. These ones on Notre Dame have a great view of the city.
The building of Notre Dame occurred and changed over hundreds of years. The chimera were added during the 1800’s.
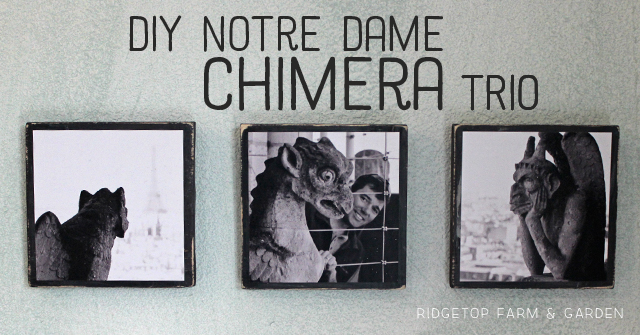
The guy in the upper right is Stryga, probably the most famous chimera.
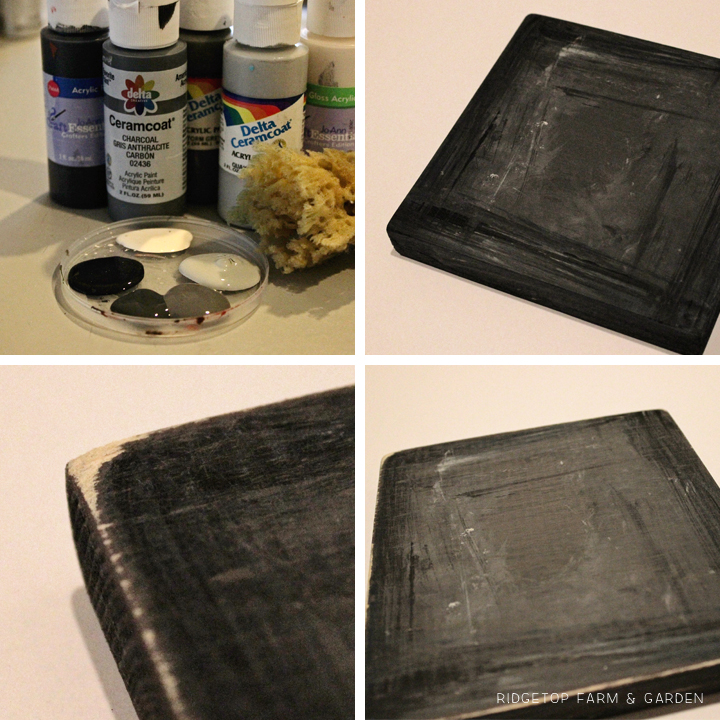
CUTTING 3 WOOD SQUARES
I bought a long pine board that was 5.5″ high at Home Depot.
I wanted the wood to be square, so using a table saw Farmer John cut the board to 5.5″ wide. Then, he cut two more squares.
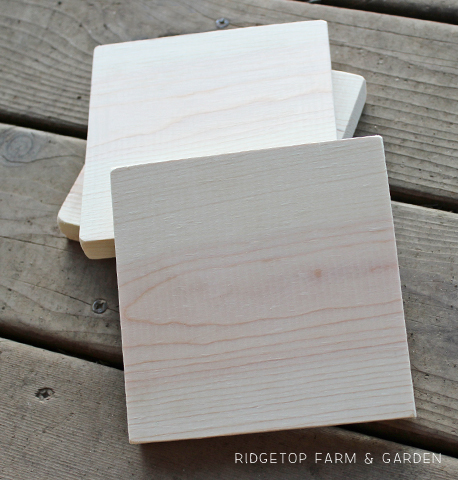
BACKGROUND COLOR
I used a simple gray color to paint the 3 wooden squares.
Then, I used a piece of sand paper to both smooth the surface and roughen the edges.
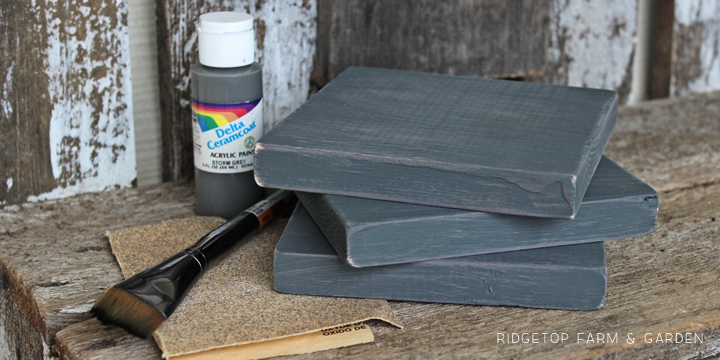
ROUGH IT UP
As I’ve mentioned a number of times, I rarely paint just one color. These squares were no different.
After the main background paint dried, I used a variety of gray paints to add a bit of interest to the wood. Instead of a brush, I used a natural sponge to lightly apply the color.
After that layer of paint dried, I sanded the edges to give them a rough look.
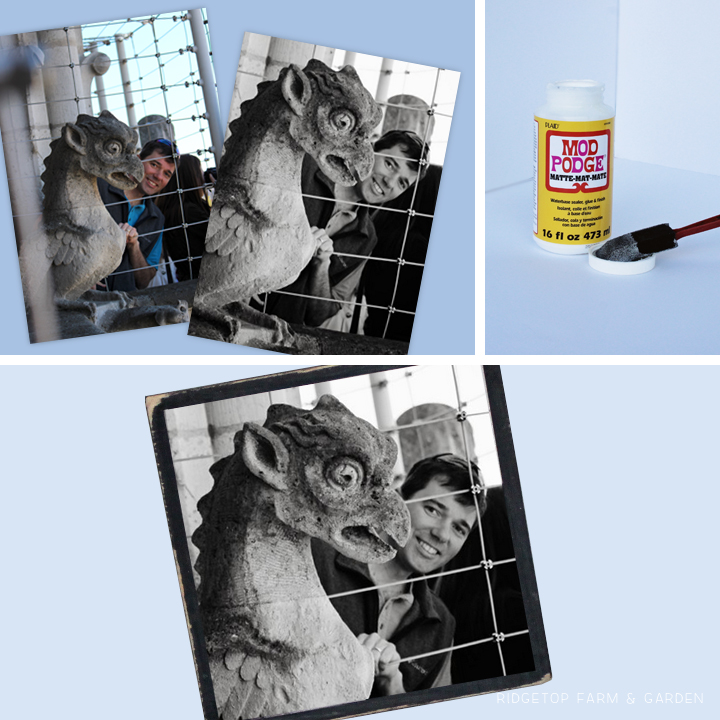
ADDING THE PHOTO’S
The original photos are in color. Using Photoshop, I changed them to black and white.
I cropped and printed the photos to a 5″x 7″ size. Then I trimmed the photo to 5″ x 5″.
Using mod podge, I glued a 5′ x 5″ photo to each square.
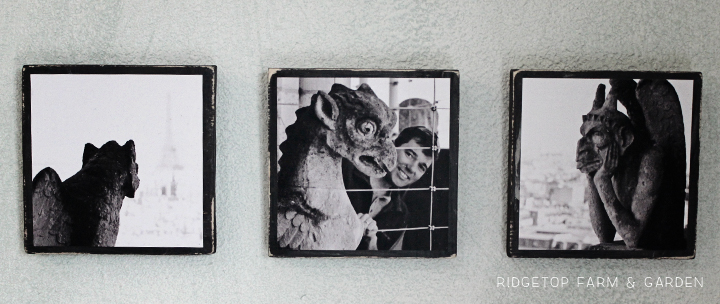
3 SQUARES IN A ROW
I chose to make three squares and place them in a row. It would also be a fun project to have 4 squares, but place them 2 x 2.
Anyone else think the chimera are as fascinating as I do?
The post DIY Notre Dame Chimera Trio appeared first on .
]]>Read more "Eiffel Tower Canvas Duo"
The post Eiffel Tower Canvas Duo appeared first on .
]]>
Years and years ago, before we had kids, the hubby and I spent one day & one night in Paris. We climbed the stairs of the Eiffel Tower and were rewarded with a great view of the city. The photos I came home with were lovely, but lacking one key feature of Paris since we were standing on it. So this last time we visited, in 2015, I was determined to get photos of the amazing city with the Eiffel Tower in the shot. We ended up making it to two famous landmarks with great views, the Arc de Triomphe & the towers at Notre Dame.
SUPPLIES
• 2 – 16″ x 20″ canvas
• 1 – 16″ x 20″ photo
• 1 – 12″ x 18″ photo
• Dark gray acrylic paint & paintbrush
• Mod podge
• Bling on a roll
• Hot glue
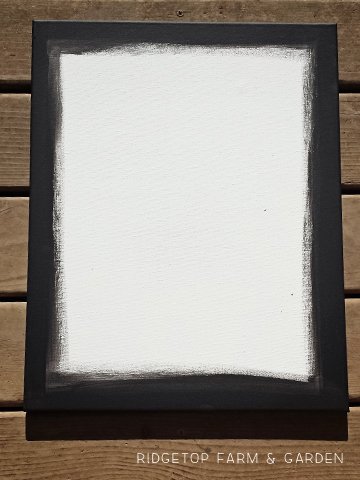
PAINTING THE CANVAS
Using dark gray acrylic paint I painted the sides, as well as the edges of the main part of the canvas . I was being frugal and didn’t see any reason to paint the section of canvas that wouldn’t be seen.
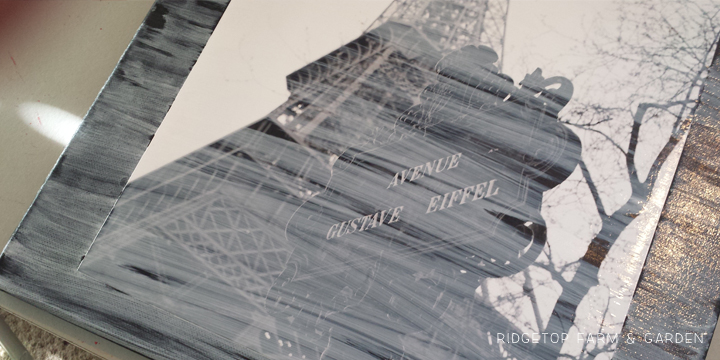
DECOUPAGE
I applied mod podge to the back of the photo and centered it on the canvas. Then, as a layer of protection, I brushed mod podge over the top of the photo and canvas.
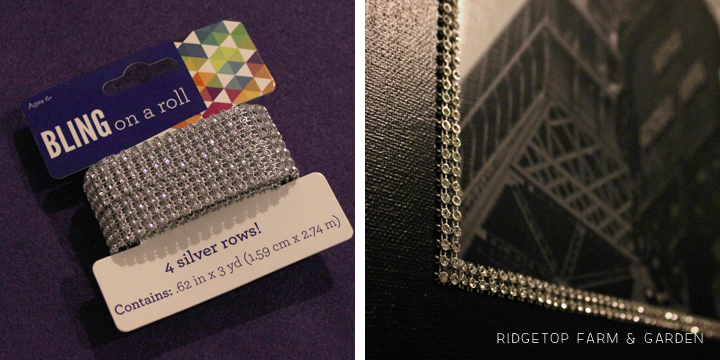
ADDING BLING
Have you seen this? Bling on a roll! Brilliant.
This particular roll had 4 rows of bling connected. Four rows was too thick for my design so I cut the bling to 2 rows.
After the mod podge dried, I used a glue gun to attach the bling to the canvas.
AND, REPEAT
I repeated the entire process for the other photo and canvas.
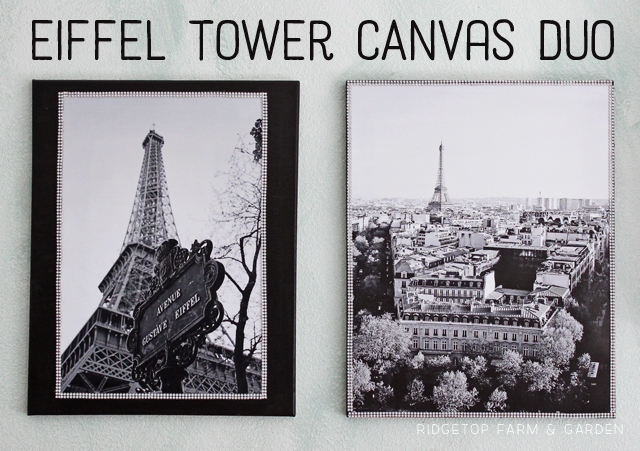
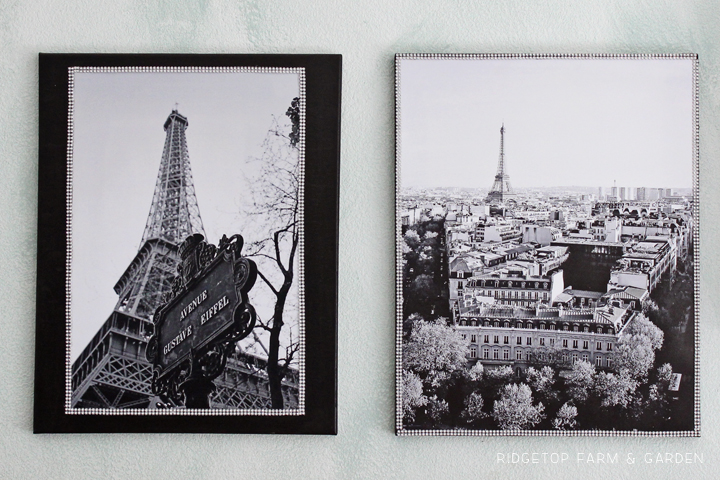
FINISHED PIECES
I love how the pieces are matchy-matchy… but not perfectly matchy-matchy.
I would love to see how you display your vacation photos.
The post Eiffel Tower Canvas Duo appeared first on .
]]>Read more "DIY Travel Photo Canvas"
The post DIY Travel Photo Canvas appeared first on .
]]>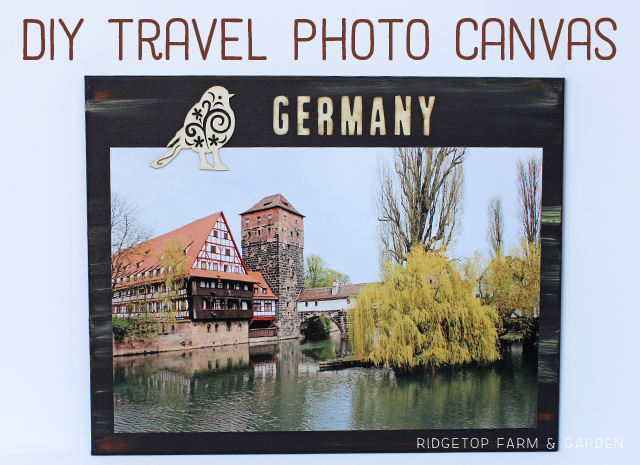
There was a blank space on our Travel Gallery Wall that fit a 20″ x 16″ canvas perfectly. Since Germany was only represented once on the wall, I was hoping the canvas could be German themed. I absolutely loved this view of the river when we were in Nuremberg, so it seemed an easy choice.
SUPPLIES
• 20″ x 16″ canvas
• 18″ x 12″ photo (I had this one printed at Costco)
• Acrylic paint
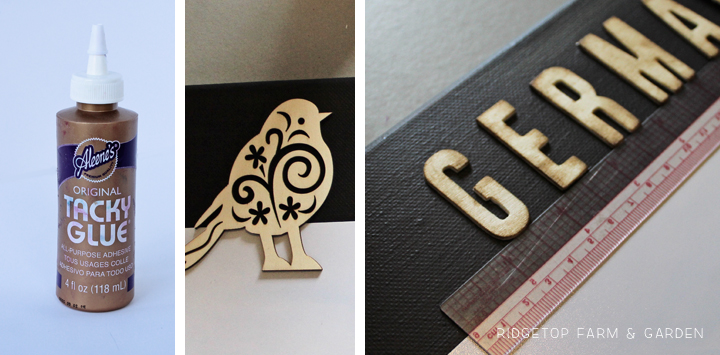
• Wood letters and wood shape
• Distress ink
• Mod podge
• Craft glue
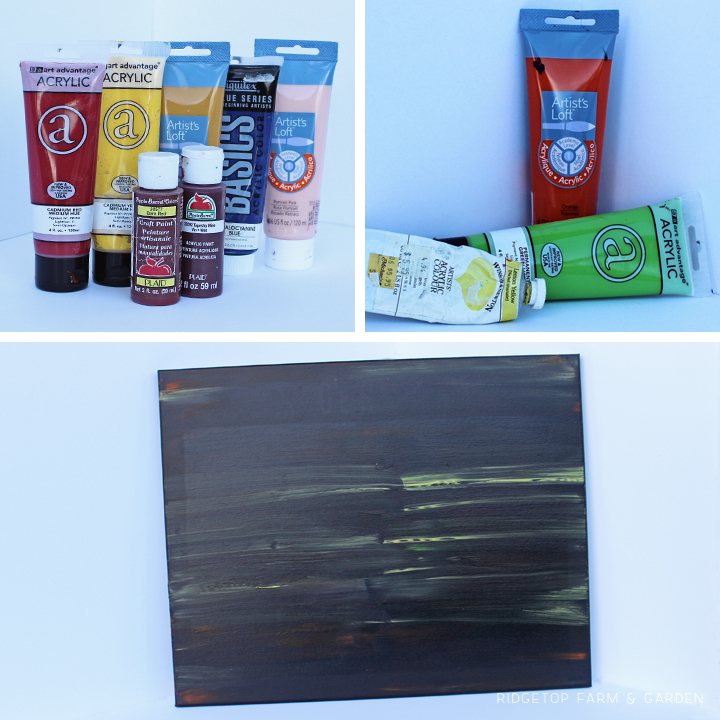
PAINTING THE CANVAS
I rarely paint a canvas color straight outta the bottle. I prefer the not-so-perfect look of color blending. However, one color would work just fine.
The main background color is a mix of 7 different paints (left photo). I was going for a barn reddish gray.
After the background color dried, I went over the top of it dry brush style. I chose an orange color to bring out the roof on the building and a light yellow green to highlight the tree.
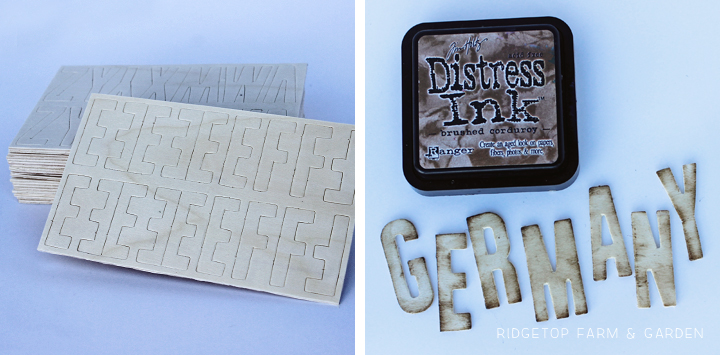
WOOD LETTERS
I picked these wood letters up at a craft store and love them. They were priced reasonably and I’ve used them for many projects already.
They are easy to paint. This time, though, I wanted the wood to show through to match the wood bird I was planning to add. So, instead, I rubbed the edges with a brown distress ink.
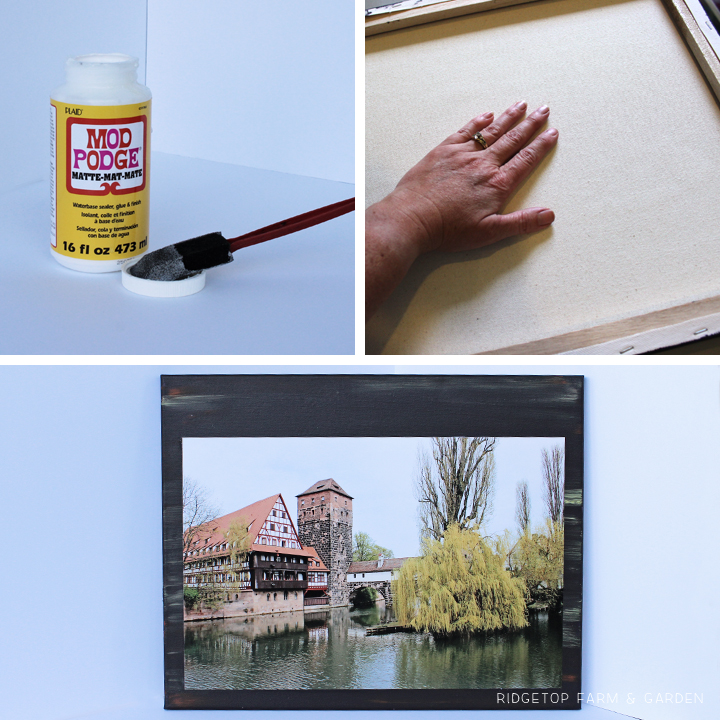
GLUING ON THE PHOTO
Sometimes when I glue a photo onto canvas I do it decoupage style – putting mod podge on the back of the photo to act as glue and also putting mod podge on the front to protect the photo.
For this project I opted not to put mod podge on the front of the photo. I did use it as glue, though, to adhere the photo to the canvas. I used a foam brush to spread glue on the back of the photo and also spread a little on the canvas itself.
I eye-balled where I wanted the photo and carefully set the photo in place. Then I gave the photo a little push rubbing it onto the canvas. There wasn’t anything supporting the canvas, making it a tad irritating to rub on the photo. So I flipped the canvas over and rubbed the photo on that way. It’s much nicer to press against a hard surface.
GLUING ON WOOD DECORATIONS
I used craft glue to attach the wood pieces to the canvas.
Again, I just eye-balled where I wanted to place the wood pieces. But, I did line up the top edge of the photo with a red line on a ruler to make sure the letters were parallel with the photo.
FINISHED CANVAS
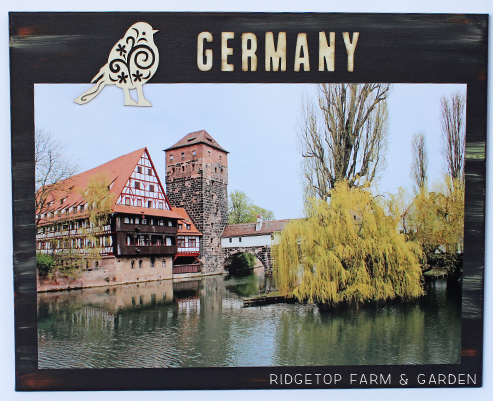
Another home decor item of a memorable family vacation complete. Woop, woop! A feeling of accomplishment for the day.
The post DIY Travel Photo Canvas appeared first on .
]]>Read more "Disney Gallery Wall"
The post Disney Gallery Wall appeared first on .
]]>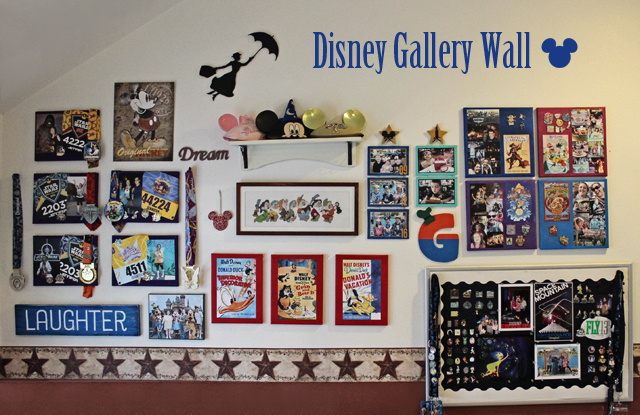
It’s no secret that I love Disney. Over the years I have acquired a few fun items. I never had a good place to display them. But we are now done home schooling, and that opened up a wall that was once covered in learning material. The wall was a blank canvas that I chose to decorate in all things Disney.

A Look at all the Gallery Pieces
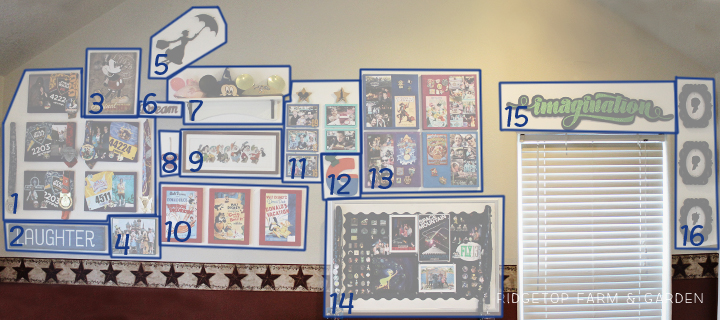
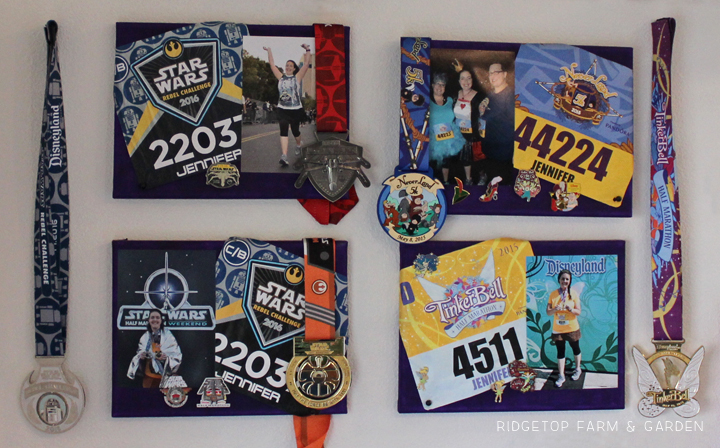
1: Run Disney Race Canvas
The Run Disney races I’ve completed have definitely been my favorite races as a newbie runner. I wanted to do something special with the race bibs and medals, so I came up with these race canvas’s. Click here to find out how I made them.
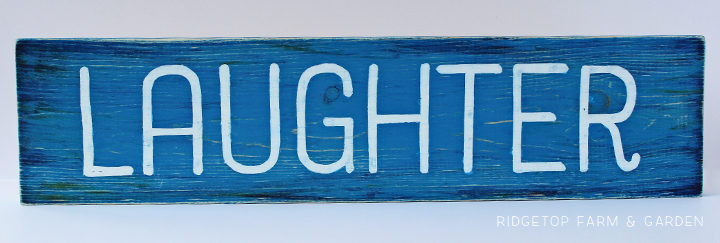
2: Laughter Wood Sign
The final piece I added to the gallery wall was this handmade laughter sign. Click here to find out how I created it.
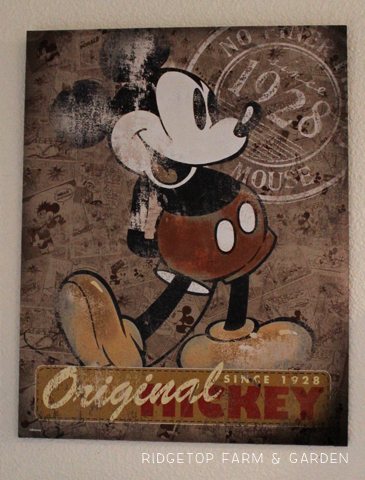
3: Vintage Mickey Poster
I found this image at the Costco Photo Center. I simply had it printed just as I would any other photo at Costco, then mounted it on a canvas panel.
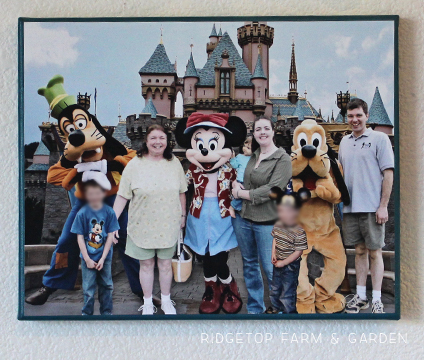
4: Family Castle & Character Photo
I put this collage together after our 2009 trip to Disneyland. I printed it as an 8″x10″, then trimmed it a bit and mounted it on a painted canvas.
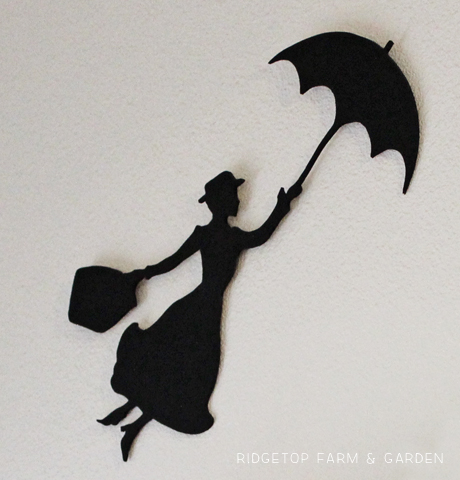
5: Mary Poppins Silhouette
I found this Mary Poppins silhouette doing a google search. I printed the image, then traced it on to 1/4″ plywood. Using a scroll saw I cut the image, then painted it black.
6: Dream Signage
Years ago I found this dream wood cut out at a craft store. I painted it glittery lime green with the intention of displaying it in one of our flowerbeds. The sign never made it outside. Instead, it sat in a closet… until now. I combined magenta acrylic paint with glitter and pearl mixing medium then painted over the lime green. After the magenta paint dried I used sand paper to roughen up the edges.

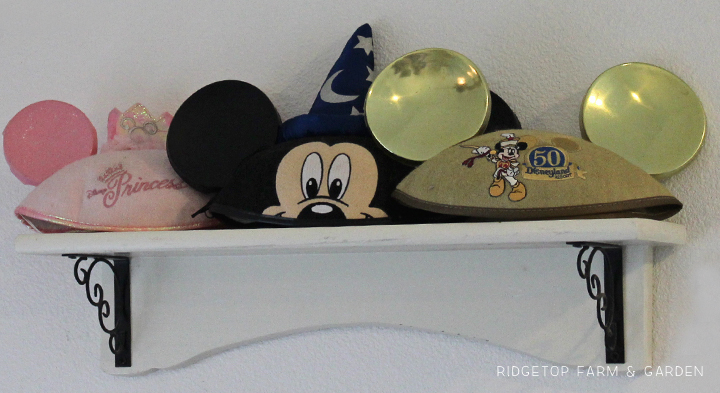
7: Mickey Ears
Each of the kids has a pair of Mickey Ears. They are simply displayed on a shelf.
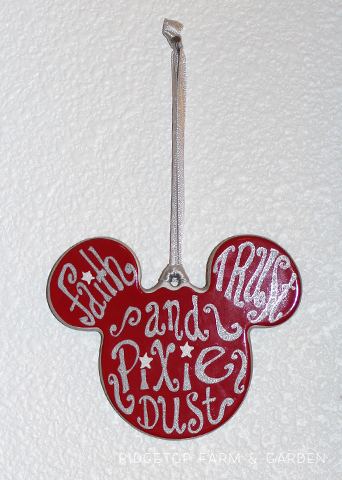
8: Ornament
During the Tinker Bell Half Marathon weekend in 2015 I bought this ornament. It’s flat, so it hangs perfectly on the wall.
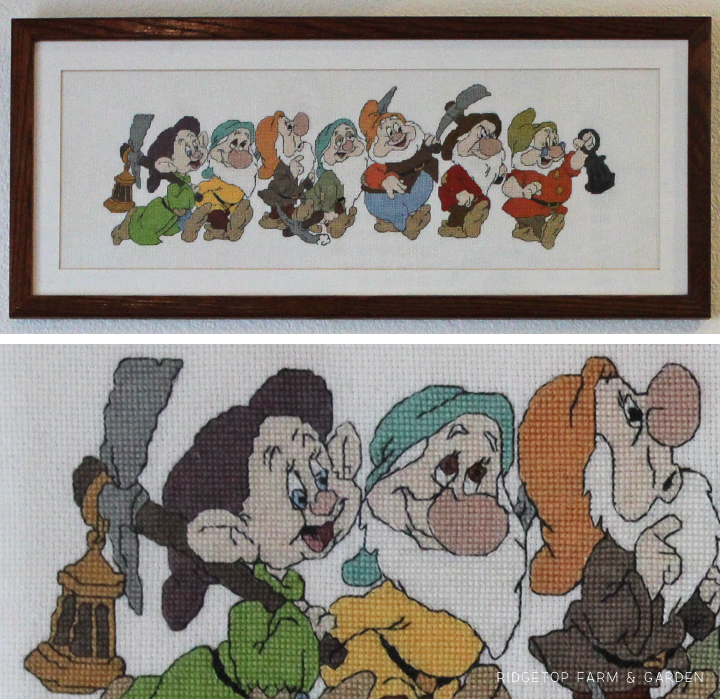
9: Seven Dwarf Cross Stitch
I don’t know exactly when I made this cross stitch. I would guess I was somewhere around 12 years old. I loved it then and had it hanging in my bedroom. But, once I moved out on my own I never really had a good spot for it… until now. I’m so excited that it has a new place to be on display!
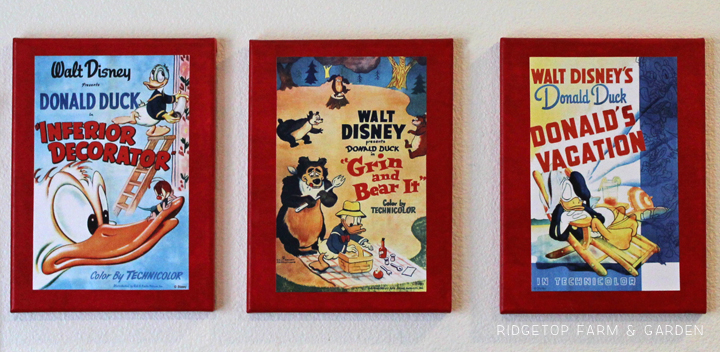
10: Donald Duck Poster Trio
I downloaded these Donald printables from Disney Movie Rewards. I painted 11″x14″ canvas’s red, then mod podged the prints to them.
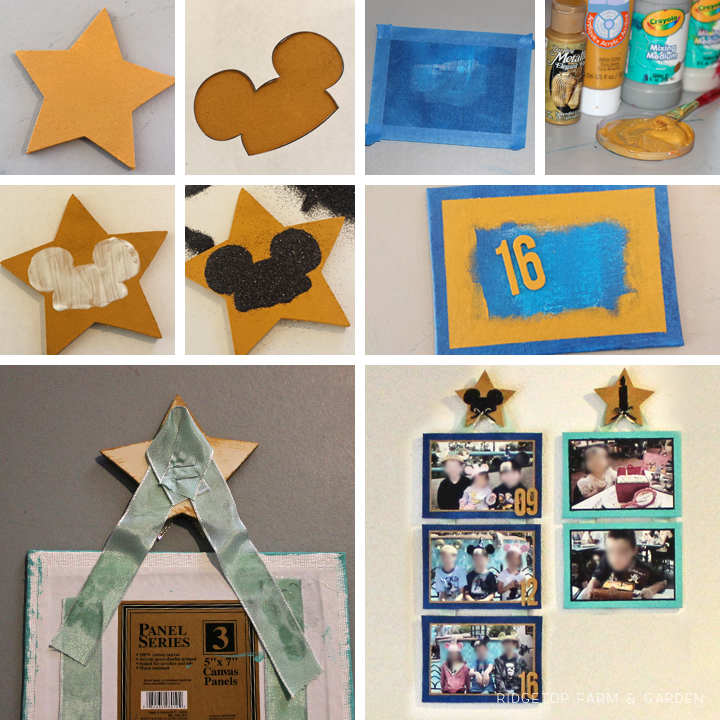
11: Birthday & Mickey Ear Canvas Panels
We have been to Disneyland 3 times with the kids. Each time I have taken their photo with Mickey ears on in front of the fountain near the entrance at California Adventure. So, using canvas panels, I created a hanging display of one photo each year.
I bought a wooden star shape at a craft store and painted it gold. Next, I cut out a shape of Mickey ears and used it as a stencil. I put glitter glue in the stencil then sprinkled black glitter on the glue. While the glue was drying on the star, I painted 3 5″x7″ canvas panels blue. After the blue dried I used painters tape to mark off the edges to provide a dual framed appearance. Inside the tape I painted gold. I also painted numbers representing the years. I used hot glue and ribbon to attach the 3 panels and the star. The final steps were mod podging on the photos and using craft glue to add the numbers.
Two out of the three times we’ve been to Disneyland with the kids were over birthdays. So, I created a similar display for the birthday photos. Both times we celebrated at New Orleans Cafe. It’s low key, but still a special treat. I like it because you can go whenever it fits your schedule for that day. You let the waiter know you’re celebrating a birthday and would like a cake. The cake is big enough for everyone to get a taste and comes in a cute take home box.
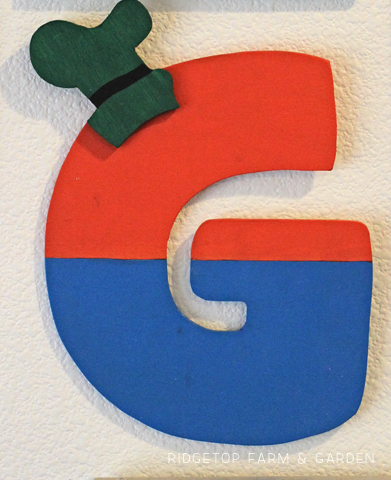
12: G
Our last name begins with G, so I created this Goofy inspired sign using a scroll saw and paint.
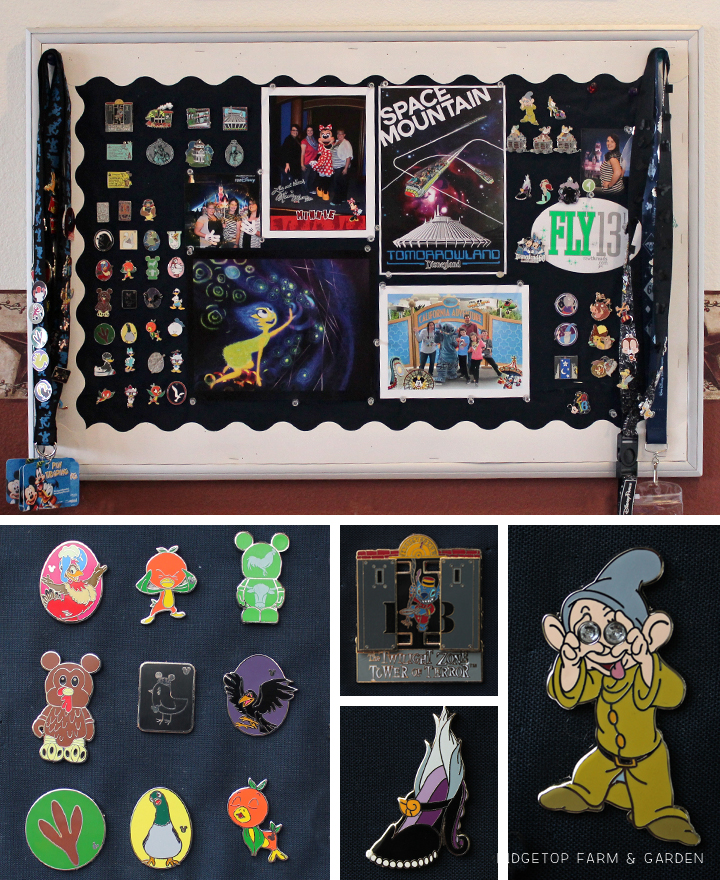
13: Pin & Photo Canvas Display
To commemorate a few of our favorite rides I put together these canvas displays. To read more about how to make them click here.
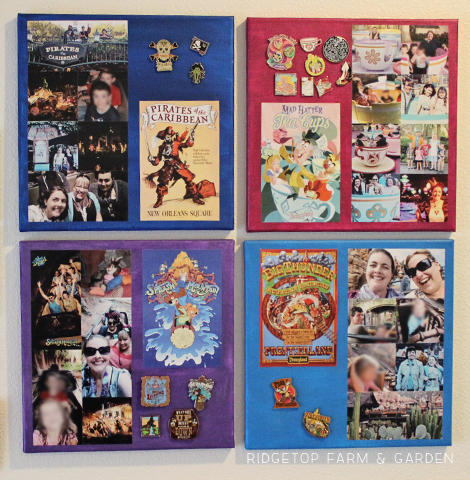
14: Bulletin Board of Pins & Photos
I went with friends to Disneyland during the Tinker Bell half marathon weekend. Those friends were a bad influence. They wanted to see what the pin collecting craze was about. I didn’t really care to much about it, but decided I’d give it a whirl anyway. It was so much fun! I didn’t have kids with me, so no added stress. Just a fun time at Disney. And, the scavenger hunt of finding pin traders and the perfect pins was on. I came back totally addicted. It is good, clean fun. However, a bit on the spendy side. I didn’t want my kazillion dollars worth of pins to be thrown in a drawer, so I turned our old home schooling bulletin board into a pin collection board. I take the backs off the pins and the pins stick and stay right in the bulletin board.
Of course, I also added photo’s. Right now I have pics up of my adult trip to Disneyland and our latest trip with the kids. I recently joined the Disney Movie Club and sometimes the movie comes with a lithograph. I added a couple of those, too. I have a variety of lithographs and Disney printables, so I change them out occasionally.
15: Imagination Cut-out
I created an image spelling the word imagination, printed it to size, then traced it onto 1/4″ plywood. Using a scroll saw I cut out the letters. Our scroll saw isn’t very big, so the image was too long. I ended up cutting the image into 3 sections, which worked perfectly fine. I also cut a border out of plywood. I painted the word imagination lime green, then used glitter glue to adhere lime green glitter over the entire thing. The background border piece is simply painted black. Using gorilla glue, I glued the green glittered piece to the black piece.
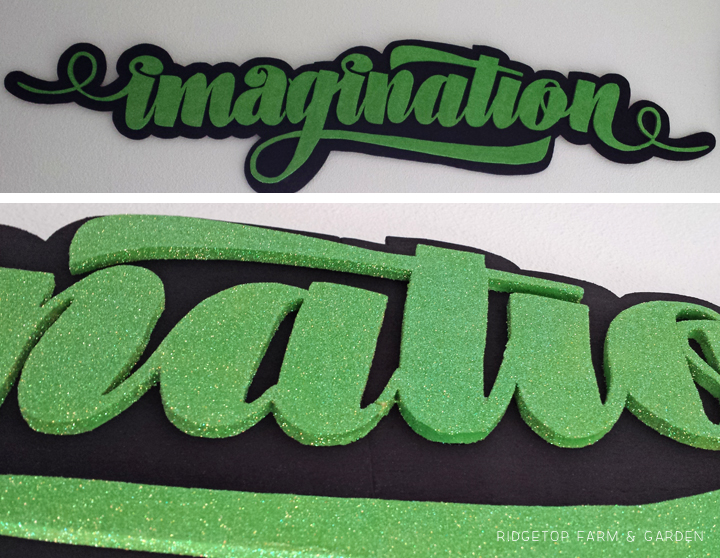
Click the image below to download a larger file of the word imagination.

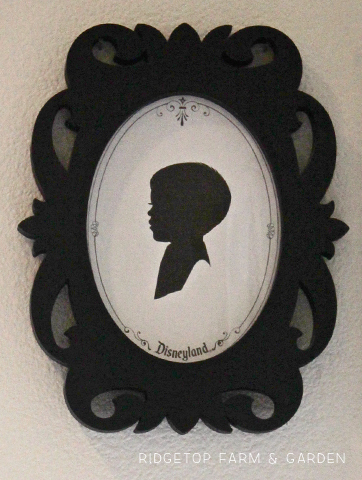
16: Main Street USA Silhouette’s
I remember getting a silhouette done when I was a kid on Main Street, USA. So, the first time we took the kids to Disneyland my must do souvenir was getting their silhouette’s cut. I got the frames at a craft store not long after we returned from our trip.
There it is, our Disney inspired wall. There are many pieces and it’s a little crazy, but I adore it anyway. The problem will arise when I do another Run Disney event. Where will those canvas’s go?
The post Disney Gallery Wall appeared first on .
]]>