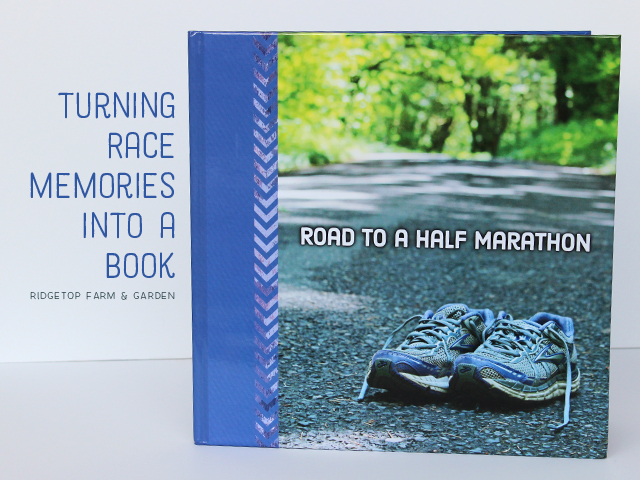
Who knew I was going to become a runner? I certainly didn’t.
However, I found that it works for my lifestyle.
I don’t love the training, but I really enjoy the run events.
I’m not fast, but I finish.
It is rewarding. I feel good. I feel accomplished.
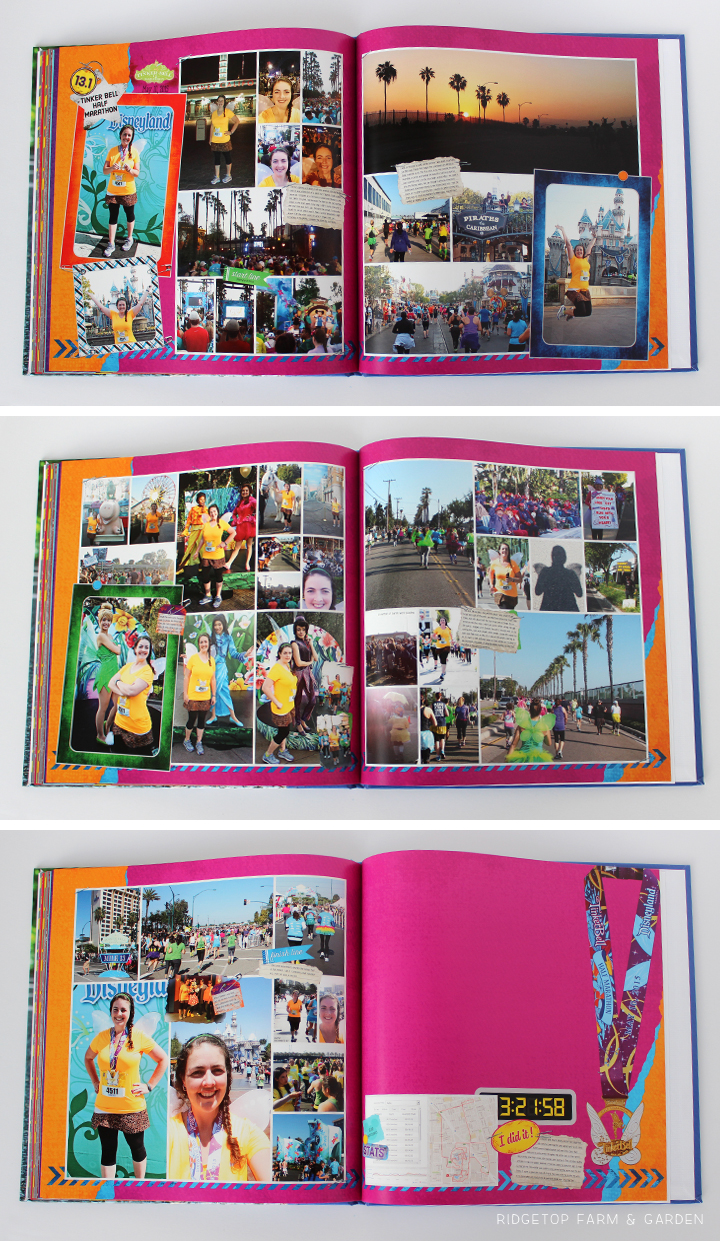
Somewhere around the beginning of my running adventure I learned about the Tinker Bell Half Marathon in Disneyland. Goal.
That became my goal and sole purpose for hitting the pavement multiple times a week.
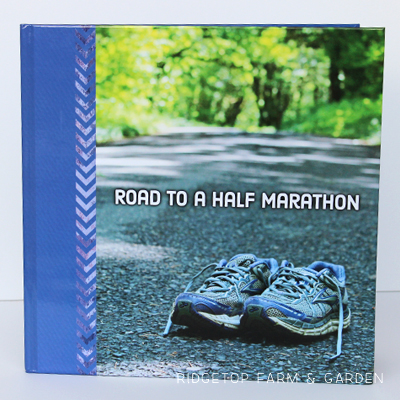
Finishing the half marathon was the end result, but there many events leading up to it. I want to remember it all. So, I created a photo book.
DESIGNING THE PAGES
The various photo book company’s have software to design a book. The ones I have used work just fine. However, you are limited to their designs and clip art. I much prefer the freedom of designing the pages in Photoshop with design elements I choose.
I create a page in Photoshop the exact size my printed photo book pages will be. For example, this is a 12″x12″ book, so I made my pages 12″x12″. When designing the page, I keep a 1/2″ border around all edges blank to allow for printing and trimming variances.
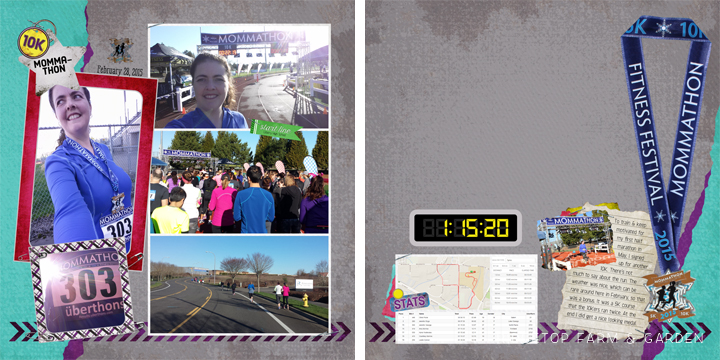
The finished page is saved as a .jpg. I upload all the jpegs to the photo book company website just as you would any photo. Then when I set up the pages in their software I’m only adding one “photo” per page.
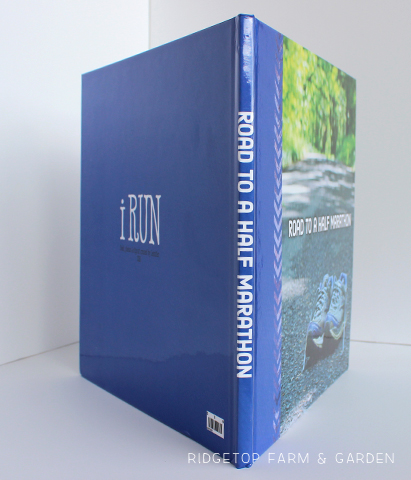
I use Shutterfly most often when making photo books. I choose their hard cover option because I love having my own special photo fill the entire front of the book.
The basics of my layouts:
• Background color spread across both pages
• Two complimentary colors shown as torn paper on both pages
• Chevron border along the bottom
• Event and distance tags at upper left
• One rectangle frame & one square frame on left
• Collage of photos to fill in the rest of the left page
• Stats recorded on the right page
• If there was a medal given, a photo of the medal is placed on the far right
• Blank space left to place bib once the book is printed
I made a Bib & Bling Board awhile ago, but I didn’t realize how quickly it would fill up. The hooks holding the bibs are almost full. So, when designing this book I purposely left blank spaces to attach the bibs right into the book. That freed up space on those hooks and adds a special touch to the book. I used photo tape to adhere the bibs.
2 Computer Designed Images Saved as JPG’s
Printed Version of the Pages with Bib Attached
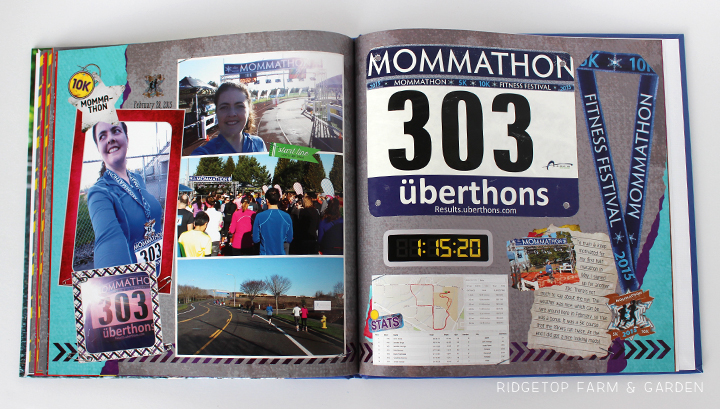
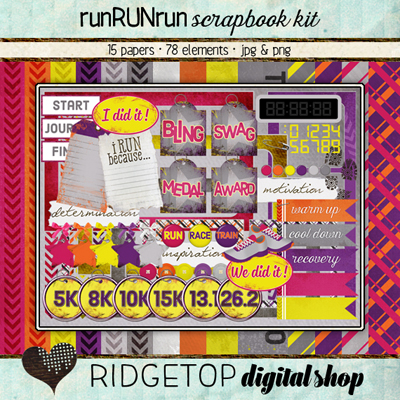
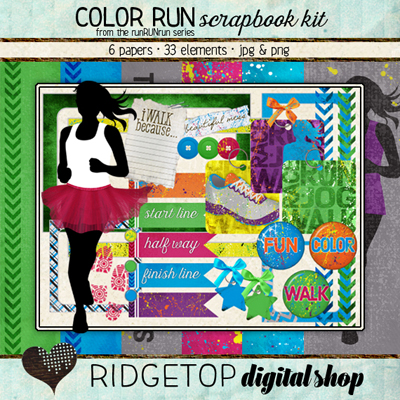
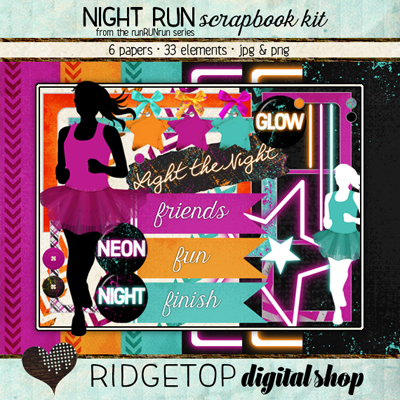
For this book, I used my own design elements – most are available on Etsy.
Something to be aware of:
When you receive your printed book it is bound so it lays nice and flat. Adding the race bibs to the pages creates thickness that the binding hasn’t accounted for. In my case, it’s not a huge difference and I’m not worried about it. However, it is something to keep in mind and you definitely don’t want to add more to your pages than is necessary.

GALLERY OF PAGES
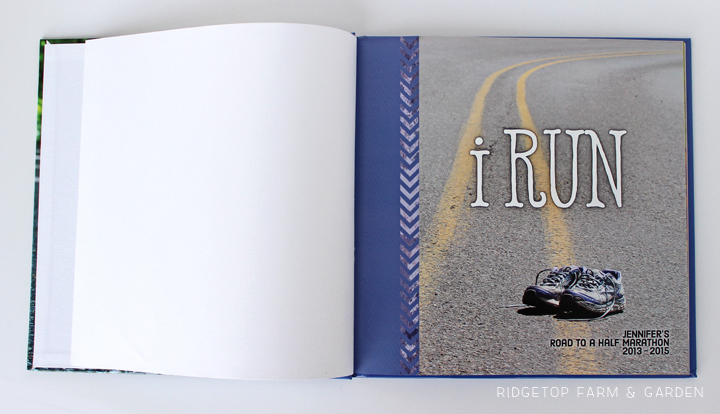
Cover Page
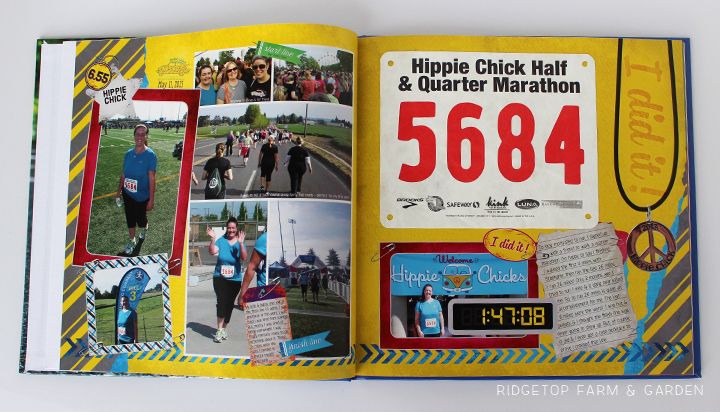
My first race event: The Hippie Chick Quarter Marathon
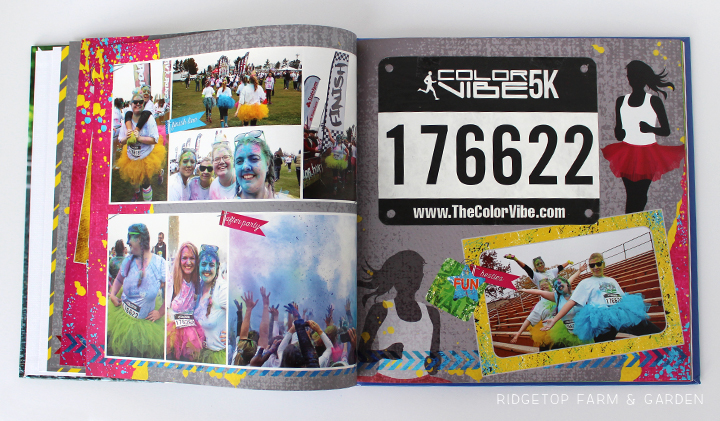
The Color Vibe was my first color run. I loved it because it was just plain fun, but also because I did it with my sister & my very best friends.
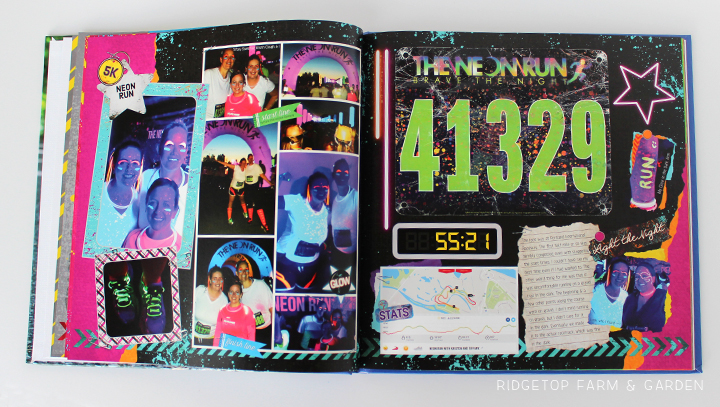
My first night run: the Neon Run. I didn’t do another night run until over two years later in Vegas. I’ll admit, I’m more of a morning run type of person.
The Shamrock Run was special because the hubby and I did it together. Getting out just the two of us is a rare treat.
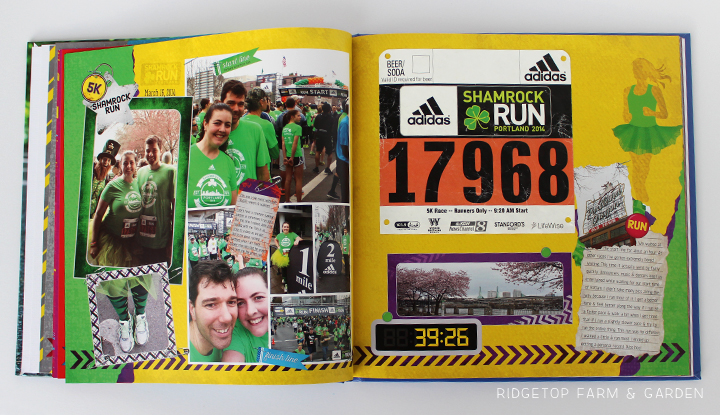
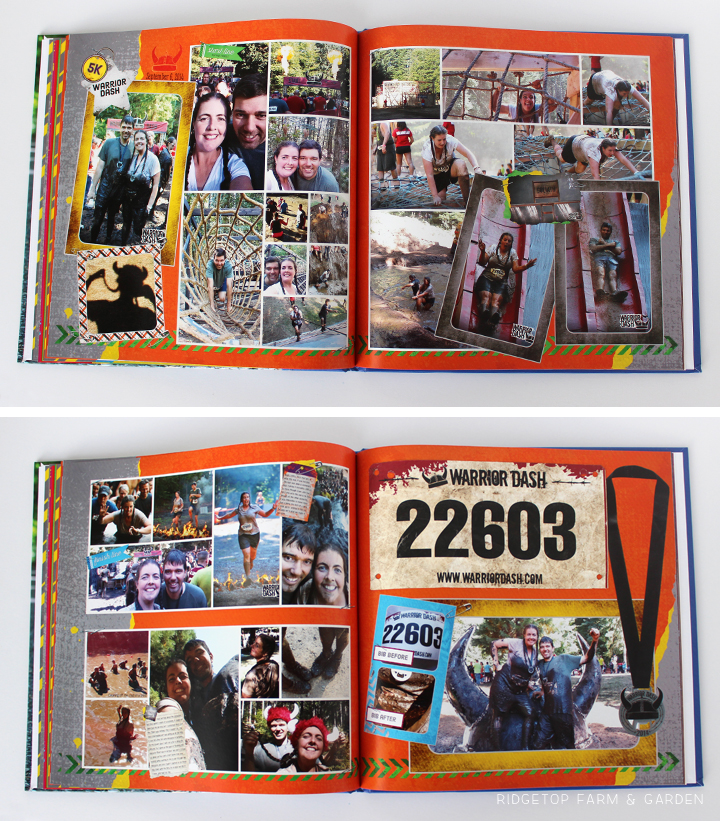
I did talk him into doing the Warrior Dash with me, too. That’s the last event we have done together. I had intentions of doing the Star Wars 5K with him and the kids. Unfortunately, that didn’t work out.
The big event: my first half marathon!
Back Cover
I’m thrilled with the way this book turned out.
Up next: Road to a Marathon. That’s right – I signed up for my first marathon in October. Eek! I’m excited and feel this is the right time to go for it. However, I’m so scared I just want to cry.
