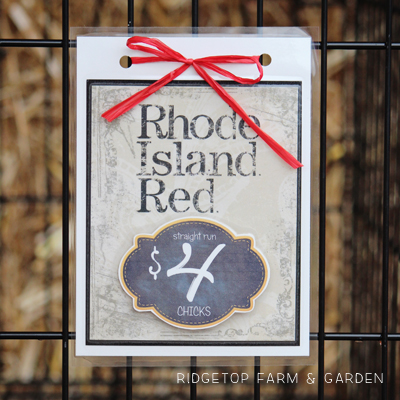
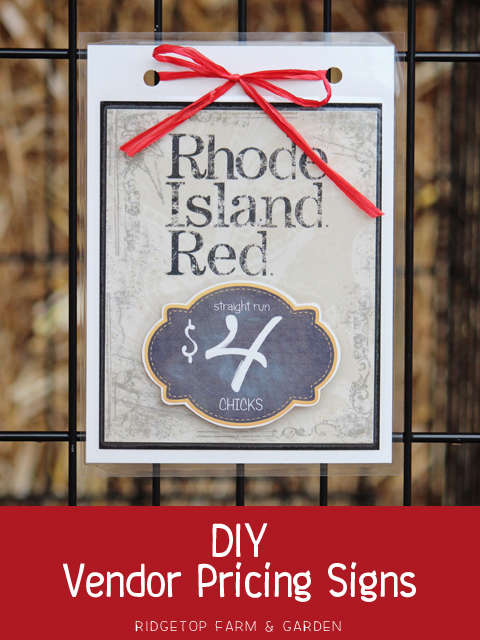
As I was getting my stuff together for the Poultry Swap, I realized I could make reusable price tags. So, I got to work making them out of materials found in my craft stash.
THE SIGN
There are multiple layers on the main sign, but it’s fairly simple to put together.
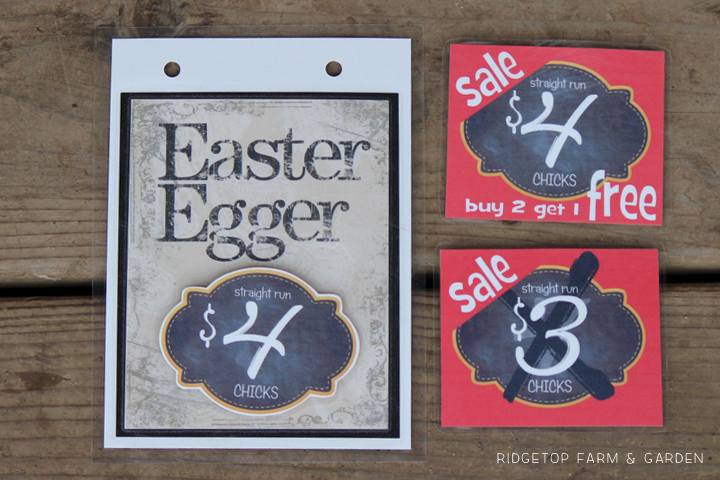
1. The first thing I did was create the wording & border in Photoshop. I printed the signs on scrapbook paper using my ink jet printer.
2. Black scrapbook paper cut slightly larger than the first tag.
3. Cream colored paper cut slightly larger than the black paper on 3 sides & about 4 times as thick on the top.
After attaching the 3 layers of paper together, I laminated them.
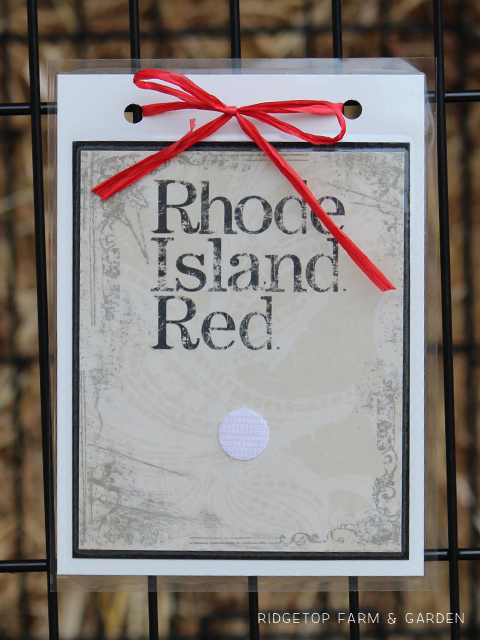
Next, I used a hole punch to make 2 holes on the top.
Finally, I applied one side of a velcro dot that had a sticky back to the sign.
INTERCHANGEABLE PRICE TAGS
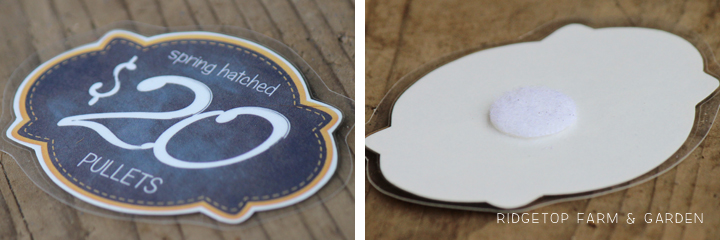
The price part of the sign is a separate piece so I can change prices as needed.
Using Photoshop, I created individual price tags. They are one piece and printed on the same cream colored paper as the background of the main tag. I laminated these tags, as well.
The second side of a velcro dot is stuck on the backside of the price tag.
ATTACHING THE SIGNS
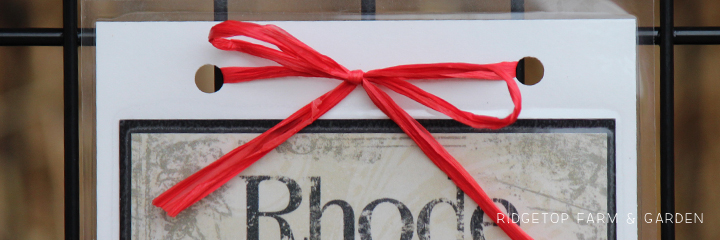
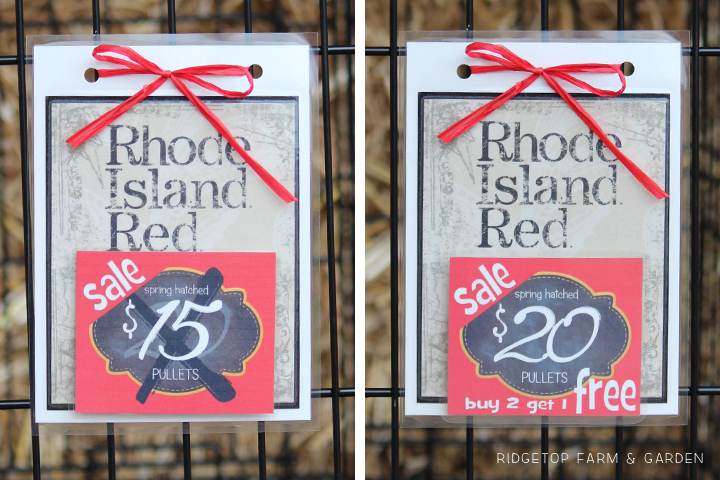
I used raffia to tie the signs onto cages.
SALE PRICES
Having interchangeable prices is convenient for a couple reasons. I may want to change my prices from swap to swap. Also, I can use the same main tag for chicks, pullets, or laying hens and only need to change the smaller price tag. The changing price tags also allows me to add sale prices, as needed.
OTHER SIGNAGE
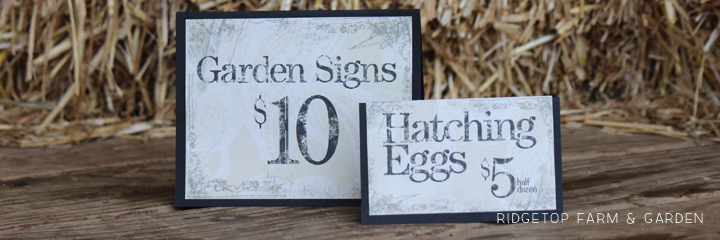
I also made matching signage for other items for sale.
These signs looked just as good after the swap, as they did when I first made them. So I’m hopeful they could last quite awhile.

