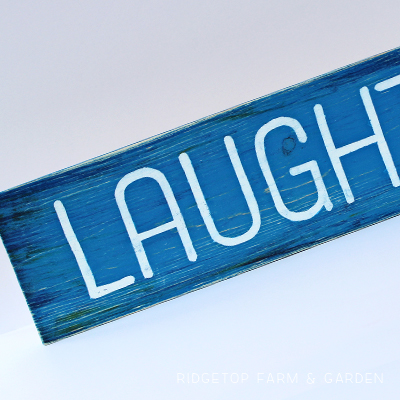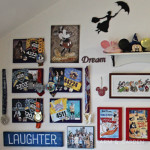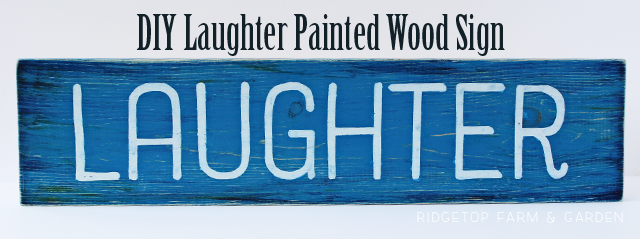
I needed one last item to add to a wall dedicated to all things Disney. This hand painted laughter sign fit perfectly.
The word was inspired by this quote:
“Laughter is timeless. Imagination has no age. And dreams are forever.”
I’m not actually sure Walt Disney said this quote, however the internet thinks he did. Either way, I enjoy the phrase.
Materials
• Wood Board – mine is 5.5″ x 22″
• Sandpaper
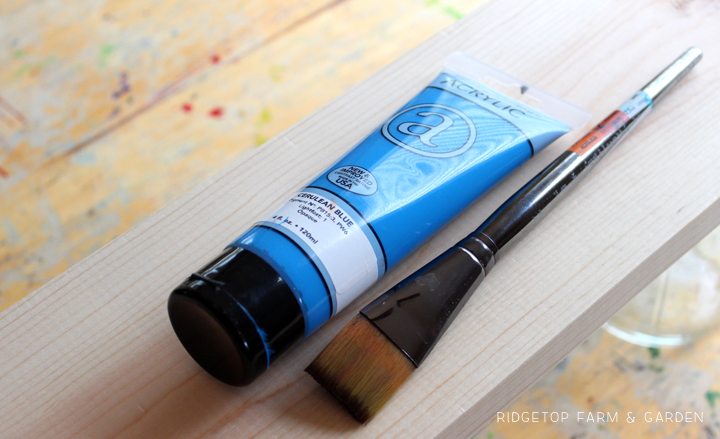
• Acrylic Paint – I used cerulean blue, pthalo blue, cadmium yellow, deep magenta, crimson, & white
• Paint Brushes, Sponge, & Spouncer
• Exacto Knife and Cutting Mat
• Laughter Stencil, preferably printed on card stock
• String and Hot Glue
Step 1: Paint Background
I began by cutting a 6′ board to approximately 22″ long.
Next I sanded the board just a bit.
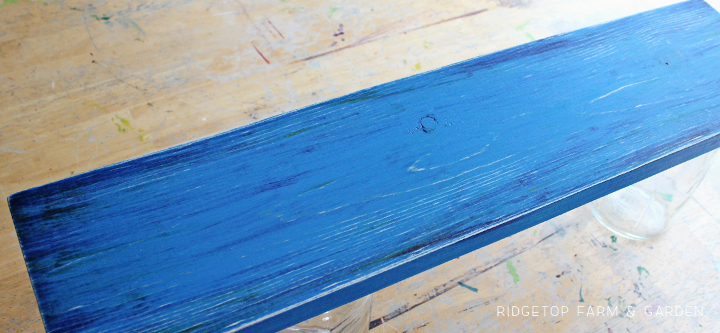
Using a 1″ brush I painted the board in cerulean blue.
After the blue paint dried, I sanded the board again.
Anybody who follows me regularly knows I rarely paint a background one color and leave it. I prefer mixing in a little coordinating or completely opposite color. This time I went with a darker blue, yellow, magenta and crimson.
Also, as I tend to do when using a small amount of paint, I used a pringles can lid as a paint palette.
As opposed to a brush, I used a sponge to lightly apply color to the board.
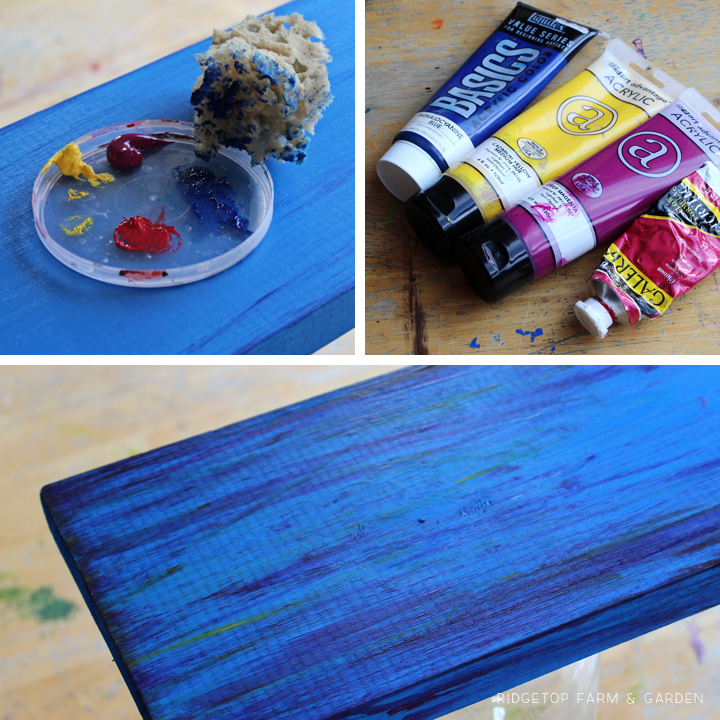
When the paint dried, the board was sanded once again.
Step 2: Add Text
Using a font I liked (Harman simple, btw) I typed out the word laughter, sized and printed it. You can click the image or here to get a copy of the text, then enlarge it to the size that works for your project.
Using an exacto knife I cut out the letters. There’s no need to be exact when cutting out the letters. Close is good enough.

Using a spouncer, I dabbed white paint inside the stencil. After the paint dried, I dabbed on paint again. Then again, one more time.
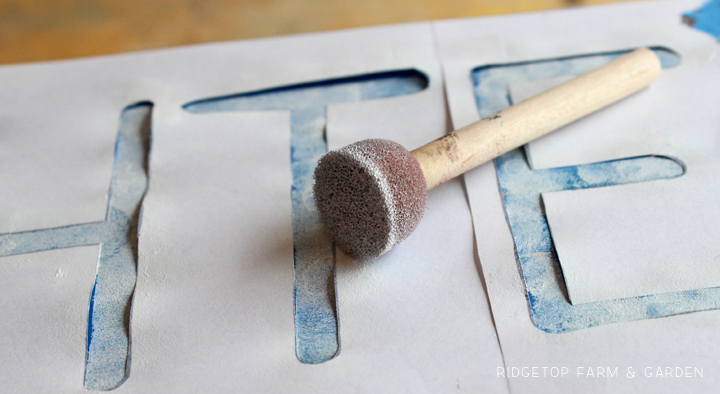
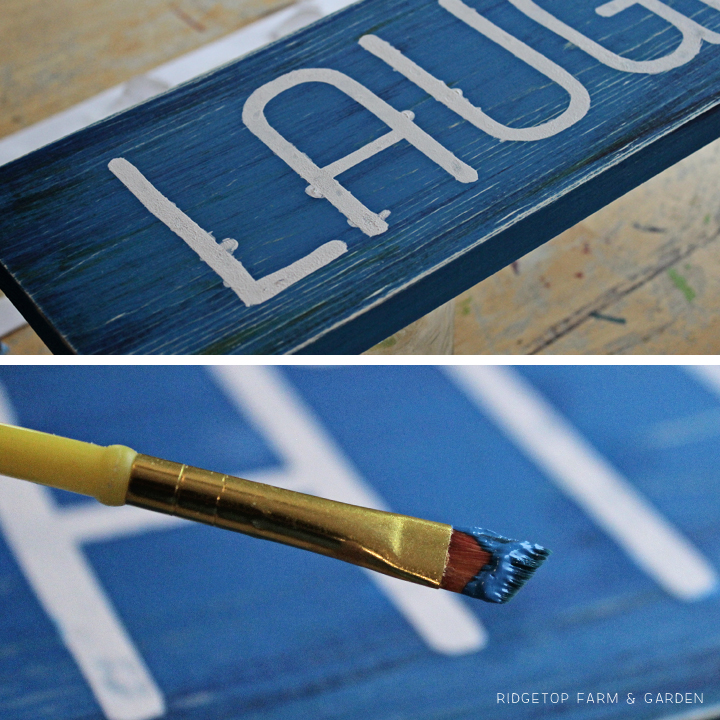
I printed the text on regular copy paper, as opposed to card stock like I meant to do. So, paint blobbed under the stencil in a few places. Boo!
I remedied the error by painting cerulean blue over the unwanted white blobs.
When dry, the board received one last sanding.
Step 3: Add Hanger
For a hanger, I simple hot glued string to the back.

On Display
The laughter sign hangs on my Disney wall directly underneath my RunDisney canvases.
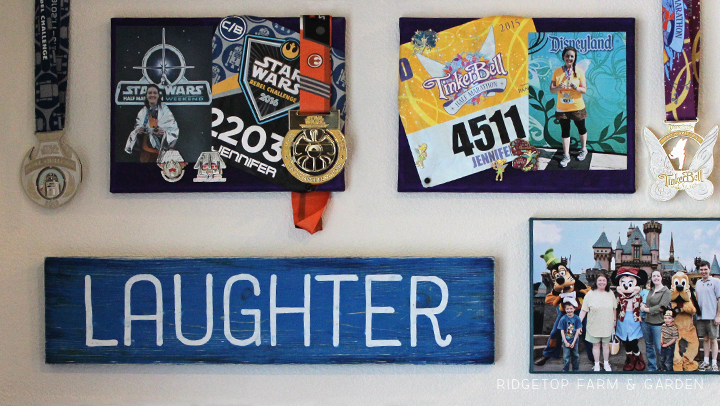
Ah, so nice to finish the last piece of this wall gallery.

