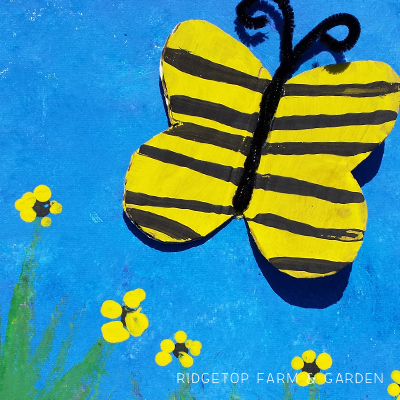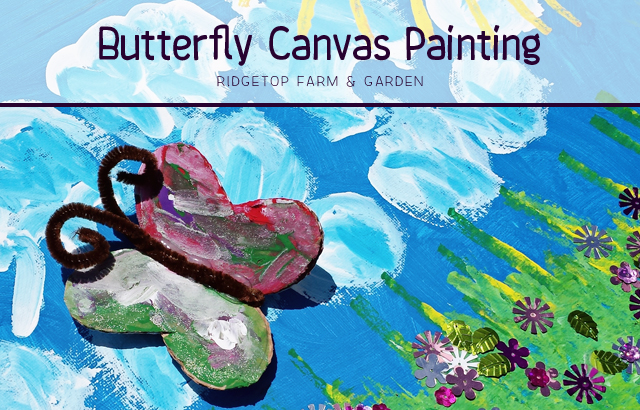
Over the summer, the kids created fun butterfly paintings. I gave them the same step by step instructions, yet all 3 of their paintings are original. I absolutely love that!
Supplies
• Canvas, we used 11″ x 14″ canvas panels
• Paint, acrylic or tempera – red, yellow, green, blue, white, and black
• Paintbrushes and/or sponge
• Pipe cleaner
• Sequins & Glitter Paint
• Misc pieces of cardboard
• Glue Gun
Step 1: Paint Background Blue
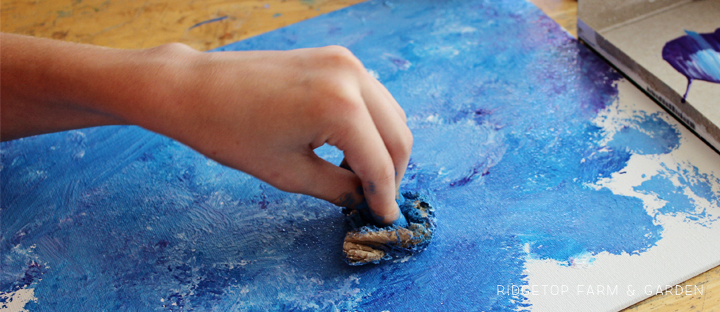
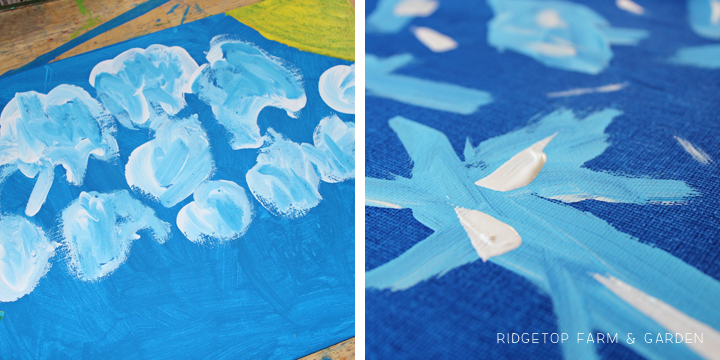
Step 2: Add Details to Sky
Farm Girl chose to paint the more typical clouds & sun.
Farm Kid2 went with an abstract look.
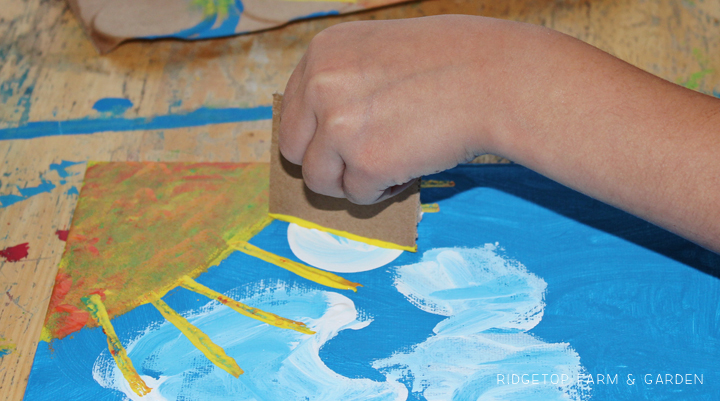
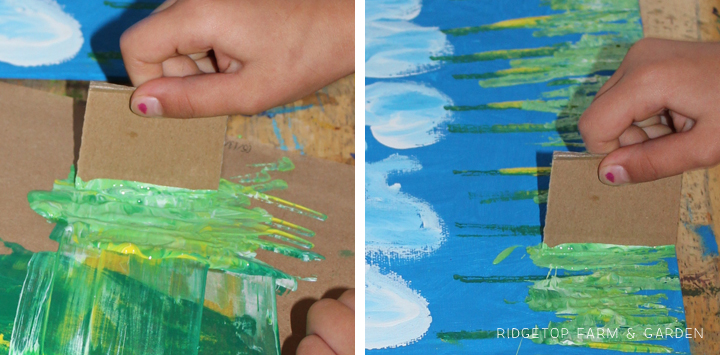
To make the rays of the sun, Farm Girl dipped the edge of a cardboard piece in a mix of yellow, orange & red paint then pressed the edge on her painting.
Step 3: Creating Grass
The kids created grass using the same method Farm Girl used for her sun’s rays.
I like mixing a variety of colors together – but, not blending them completely together. The base color was green right from the bottle. But, we also mixed in varying amounts of yellow, blue, red & white.
Step 4: Adding Flowers
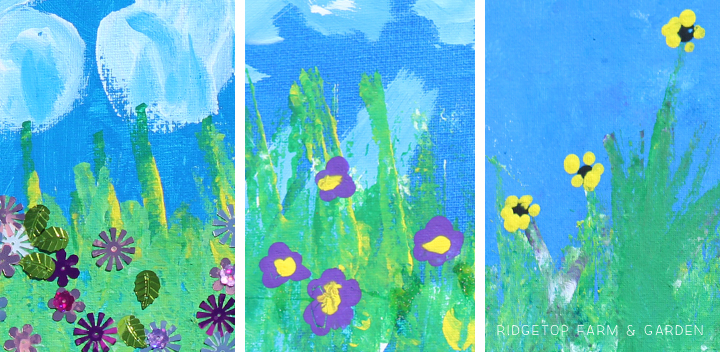
Farm Girl glued flower sequins in her grass.
Farm Kid1 & Farm Kid2 painted their flowers.
Step 5: Painting the Butterfly
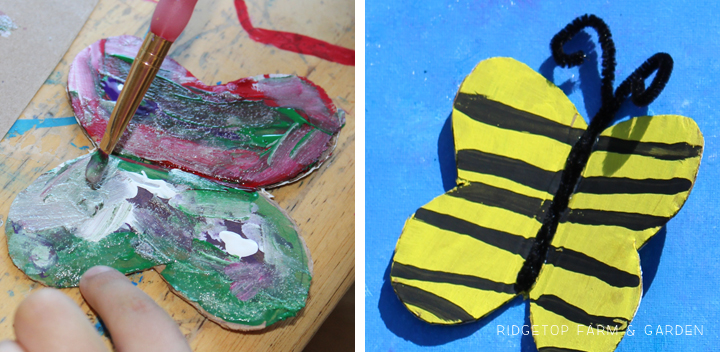
I cut butterfly shapes from cardboard and the kids painted them. They painted the entire butterfly. But instead, you could paint only one side of the wings, then squish it over onto the other side to make a perfect reverse copy of it.
The kids formed the body & antennae from a pipe cleaner. I used a glue gun to attach the pipe cleaner to the butterfly, then to attach the butterfly to the painted canvas.
Finished Masterpieces
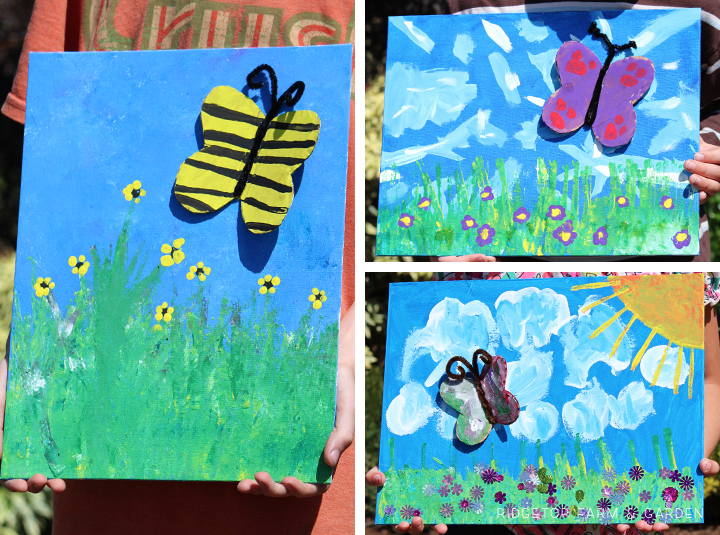
I love that this project was simple, yet had great results.
